Monday, March 21, 2011

Lumber Gloat

Woodworking can be an expensive hobby.  Tools, classes, and raw materials all cost money.  Anybody who thinks they are going to build furniture cheaper than Ikea is kidding themselves.  As hobbyist woodworker, the only place I can compete is on quality.  My furniture will be nicer, stronger, survive longer, and the design will be customized to my needs.

Even though woodworking can be expensive, every once in a while you get a good deal.  This is when it's time for a gloat post - like this one!

I saw an ad on Craigslist last week for some kiln-dried lumber.  A few phone calls and a two hour drive later, and I was looking at tens of thousands of board feet of lumber being sold off by a now-closed flooring mill.  Here is a picture from my cell phone of the mountains of lumber.

Need 10,000 BF of Eastern White Pine?  Here it is.
Most of the available stock was Eastern White Pine, since this mill was in the far western part of North Carolina.  Lots of pine forests up that way.  There were other species available though including Ash, Red and White Oak, Maple, and even a few exotics like Ipe and Purple Heart.

My choice was Walnut, though.  I have been designing some desks for our home office, and they will look great made of a nice Walnut.  The seller had some 4/4 walnut that was graded #1 Common, which means there are more defects allowed than the nicer FAS grade.  For my purposes, this stuff will be just fine.


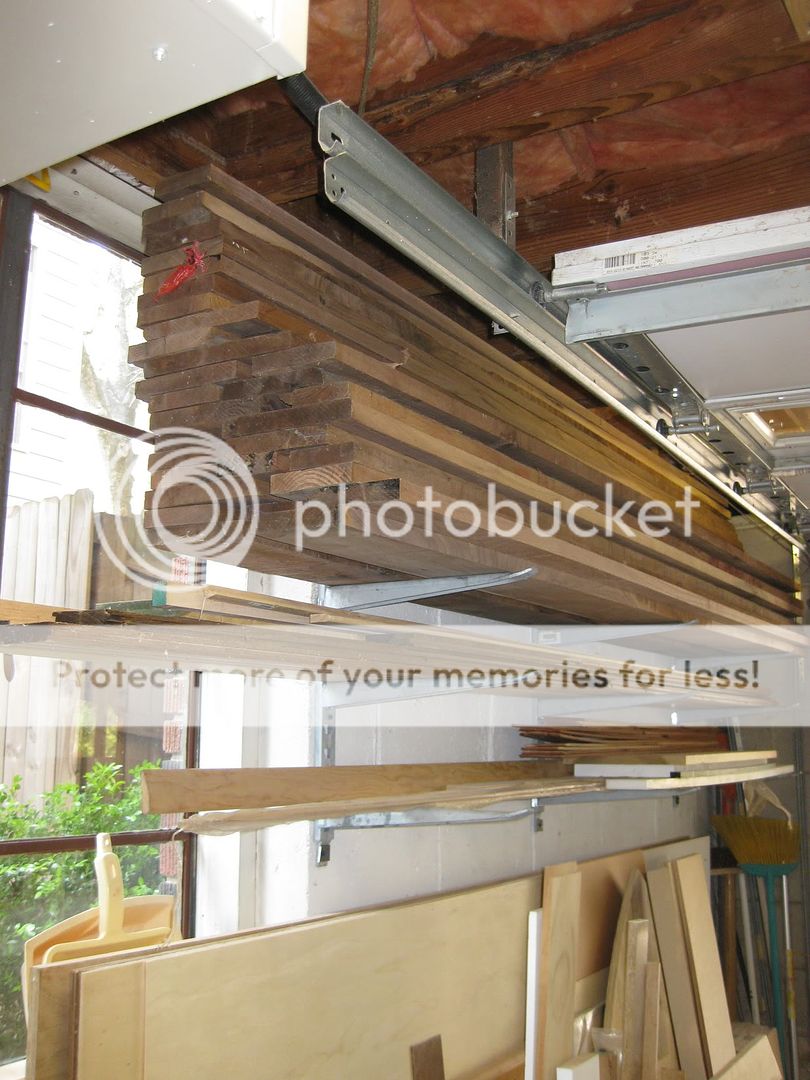
Street price in the Atlanta area for 4/4 FAS Walnut is around $7 per BF for hobbyist quantities.  Even though the Craigslist lumber was a lower grade than FAS, the price was much lower also.  At $2 per Board foot, I took all that my truck could carry.  This is what 500 Board Feet of walnut look like.

There was a mix of 8ft and 6ft boards.
My shop project this weekend was to clean off my lumber rack and reload it with the walnut.  Over the years I have hoarded a mixed collection of MDF, plywood, and pine scraps.  Most of the stuff on the rack was left over from house projects, so there were 2 ft sections of crown molding and other things I would never really need.

After a purge of useless scraps, I made sure that the rack was level and ready for the Walnut.  You can see in the picture below that my longer boards are stored over the top of my plywood cart.  Details on the plywood cart are available at this post on the blog.

Lumber storage area of the shop.  Who needs a window anyway?
I stored as much as I could on the rack.  The walnut is literally stacked to the rafters.  Even so, I could only fit about 120 Board Feet on the rack.  The rest of the walnut is in my neighbor's garage.  He's a woodworker also, and we're splitting the load.

Stacked as high as it would go, I could store only 120 Board Feet
After this adventure, it looks like anything I build from now on will be made of Walnut!

Ever get a good deal?  Want to gloat about it?  Let's hear about it in the comments.

Sunday, March 13, 2011

Sales Counter - Final Pics

Our friend's store opened Saturday, and this was the first opportunity I had to snap some pictures of the sales counter in all its glory.

The front of the sales counter highlights salvaged doors and windows.

The rear of the counter is more functional open shelving.

The jewelry cases at each end have glass top inserts for visibility.

Despite the challenges of building this long cabinet in my small shop, I would do it again in a heartbeat.  It was fun to figure out the best way to re-use salvaged materials, and our friend loves the finished design.

Even the counter top came out fine in the end, though I had to rework it to deal with an error in measurement.  The photo below shows the seam in the middle of the long top, where the two separate slabs are joined with pocket screws from the underside.

Close-up of the seam in the counter top
Thanks to all of you who have followed this build on the blog, and given suggestions for fixing the counter top.  That's a wrap on this project!

Thursday, March 10, 2011

Sales Counter - Top Version 2

How do you make a woodworker cry?  Tell him he has to cut up a recently finished project with a circular saw.

Boo hoo hoo.

I recently made a sales counter for a friend's new store, and it turned out great.  Unfortunately it was too long.  The first time, I created a ship-lap joint to join the two long counter slabs.  This was the source of my error in measurement.

Version 1 of the joint was a strong ship-lap.  This joint was also the source of my error in length.
This was very strong, but I wasn't able to get the joint as tight as I would like so I had to fill the small gap with tinted epoxy.

Version 1 of the joint had a visible gap.

I used tinted epoxy to fill the gap in the original piece.

The epoxy fix turned out pretty well, but it was one of those things that drives us woodworkers crazy while nobody else really notices.  The error in length of the counter top gave me the opportunity to rethink the joint and improve the seam.

Due to the design, the only option was to cut the counter top apart and take the extra material out of the middle.  This went pretty quickly with a circular saw and straightedge.  It was very satisfying to deposit the extra chunk of material in the garbage bin, after a few choice words were exchanged.

For Version 2 of the joint, I kept things a little simpler.  First I cut the two halves to exact length to get the joint centered correctly.  Then I focused on getting the joint as tight as possible.  I ended up "shooting" the ends of both halves with my smoothing plane to get them as nice and straight as possible.

A small spacer under the slab raises it up so I can shoot the end with my planes.
This approach worked very well and I was able to get the joint super tight.  In fact, I got so excited I stopped taking pictures.  Whoops!

I decided not to so another ship-lap joint at this point.  With a tight fitting seam and no extra length remaining, I was afraid anything else I did would mess it up somehow.  Instead, I used my pocket screw jig to put in a slot every couple inches along the bottom of the slabs.  I figured I could use pocket screws to pull the two halves together during installation.

I brought the tops back over to the store, and it was much easier to transport two seven foot slabs than one 14 footer in my truck.  Installation went smoothly the second time, and the pocket screws worked great to hold the two slabs tightly together along the seam.  Luckily the cabinet design allowed me to access most of the underside easily.  I just worked slowly from one side to the other, making sure the two slabs were tight and flush before screwing them together.  The seam is much less visible than the first time, and so flush that you can barely feel it.  Even better, I didn't have to strip any finish or sand to get the joint smoothed out.

I'll have pictures of the final sales counter soon - the grand opening of the store is this weekend.  Until then, I am running laps around my tiny shop.  It feels twice as big now that the counter tops are gone!

Do you ever find yourself fixing mistakes?  I sure do!  Comments are open, operators standing by!

Monday, March 07, 2011

Mr. Schwarz? My brain is full.

Chris Schwarz came to Atlanta this past weekend.  He is the editor of Popular Woodworking Magazine, a workbench guru, a hand plane aficionado, and a leading voice in the use of hand tools for woodworking.  On Friday night he gave a talk about router planes and then gave the first-ever public talk about his upcoming book, The Anarchist's Tool Chest.  The talk was very compelling and I am sure the book will be very well received.

Chris Schwarz at work

On Sunday, I had the good fortune to take a day-long class with him at the Atlanta Woodcraft store.  The goal was to build a traditional English layout square, copied from an antique tool and published recently in Popular Woodworking Magazine.  Think of a wooden framing square and you'll have the right idea.

Here is how the class felt for me:

This was an 8 hour brain dump on all sorts of topics.  We talked about lots of tools and practiced a bunch of techniques.  Sharpening plane irons, planing stock square, sawing tenon cheeks, using shoulder planes, laughing at router plane "depth suggesters", fairing curves with rasps, cutting tenon shoulders cleanly, paring with a chisel, and even simple things like gluing end grain.  This class was full of great content, and well worth the time and cost to spend the day soaking it up.

After 4 hours of work, here is what was on my bench.  Three sticks of walnut that really don't look much different than when I first picked them up hours earlier.  All I can tell you is that this stock was as flat and square as I could make it, which is a critical first step toward making tight joints.

Halfway done, but not looking like much!

For the rest of the class, we rallied and worked toward cutting a bunch of half lap joints, roughing out curves on the detail areas, and making tight joints.  I don't think anybody finished the square, but some folks got pretty close.  Here is a picture of my project as I was marking the joints in the stretcher.

My progress toward the end of the day
There were only 7 students in the class, so there was plenty of personal attention. This did not always work to my advantage.  Quote of the day from Chris was "Uhh, Aaron?  Maybe you cut to the wrong side of the line." Ouch.

Thanks to Chris for making the trip, and to Steve Quehl for bringing him to our local WoodCraft.

It is always humbling for me to interact with very experienced woodworkers, but I learn so much more than I can by just reading about it or going solo.  How do you connect with the woodworking community?  Do you take classes, or just try to figure things out for yourself?