
It doesn't look like this resurgence will slow any time soon. In fact, there are a couple great workbench builds going on right now across the web. For instance, check out Kari Hultman's blog, The Village Carpenter as she begins construction of a Roubo style bench. In addition, Marc Spagnuolo has announced that the winter build for The Wood Whisperer Guild will be a Benchcrafted Split-Top Roubo Workbench.
One design that has gotten a lot of recent attention is the Moxon Vise, which is a handy clamping accessory for working on the ends of boards. It excels at holding boards for dovetailing or tenoning with a hand saw. Based on a 17th century manuscript by Moxon, the common design spreading through the woodworking world comes from a recent article in Popular Woodworking Magazine by Schwarz. That guy is everywhere! The Moxon is a twin-screw vise that clamps on top of your workbench, so it raises the work up to a better height for sawing.
 |
| Schwarz's version of the Moxon vise |
After a little googling, I was able to find a cheap source for some 1" metal rod with Acme threads. Using metal screws avoids the problem of working with a threading kit, and another bonus is that the metal screws are 4 tpi (threads per inch). The wooden threading kits I found were 6 tpi, so the metal screws should screw in and out 33% faster!
I got the stuff from surpluscenter.com and the part numbers you need are 1-2983-100-3 for the threaded rod and 1-2984-100N for the nuts. I tried to find some surplus Acme rockets like Wile E. Coyote used, but no luck there. Total cost for 3ft of threaded rod and four nuts was about $60 plus shipping. This is enough for two Moxon vises, so the cost is about the same as a threading kit.
 |
| This is all the hardware you'll need for a couple Moxon vises |
The first task was to cut up the threaded rod into smaller pieces. I needed 7" lengths of thread for my design, which yields a 2 1/2" capacity in the vise. If you want to hold thicker boards, you may need longer screws.
 |
| I rigged up these little stands to make cutting the threaded rod easier |
 |
| I wanted to cut 7" sections of the rod for my purposes |
 |
| You could go crazy with a hacksaw, but I used a sawzall to make the cuts. Slip the blade into the slot in the stand to keep the cuts as straight as possible. |
 |
| Flip the stand on its side and use a metal vise to clean up the cut. Get it close to 90 degrees, and remove all sharp edges that can injure you. |
My neighbor is a wood turner and he was kind enough to turn a couple walnut handles for me. Did I mention how much walnut we have? The plan was to epoxy the threaded rod into the handles, and it worked like a smelly, sticky charm.
 |
| One of the walnut handles my neighbor made, a section of threaded rod, and 5-minute epoxy. What could go wrong? |
 |
| Put the epoxy into the hole, and work the threaded rod down into the epoxy so that the threads get filled up. |
Next, I needed to make the vise body and front chop. I used a seasoned 2x10 that was laying around the shop (well, my neighbor's shop...but he looked the other way for a couple seconds too long!) I stayed pretty close to the dimensions from Schwarz's magazine plans. With luck and planning you will end up with a little more than 24" between the screws.
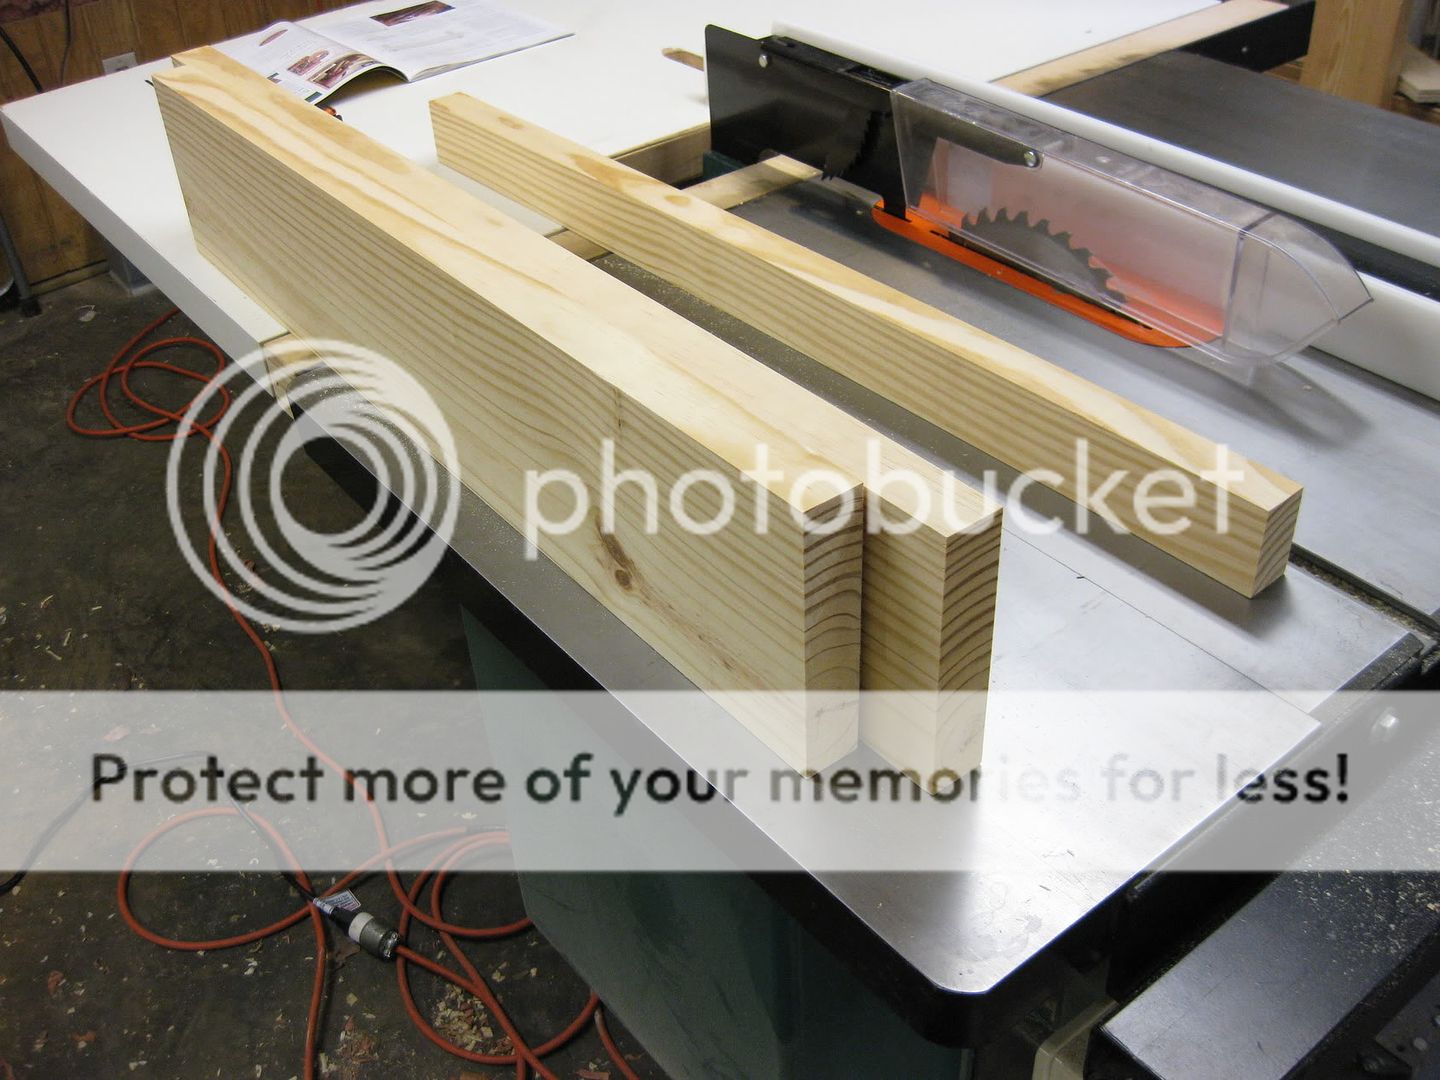 |
| Front vise chop, rear body, and stabilizing support were cut and milled square. |
The screws go through the front chop, and thread into the rear body of the vise. For the wooden-screw versions, you would need to use a tapping kit to cut some threads in the holes in the main body. I simply drilled some 1" holes and sunk the nuts into the back of the body so they wouldn't spin.
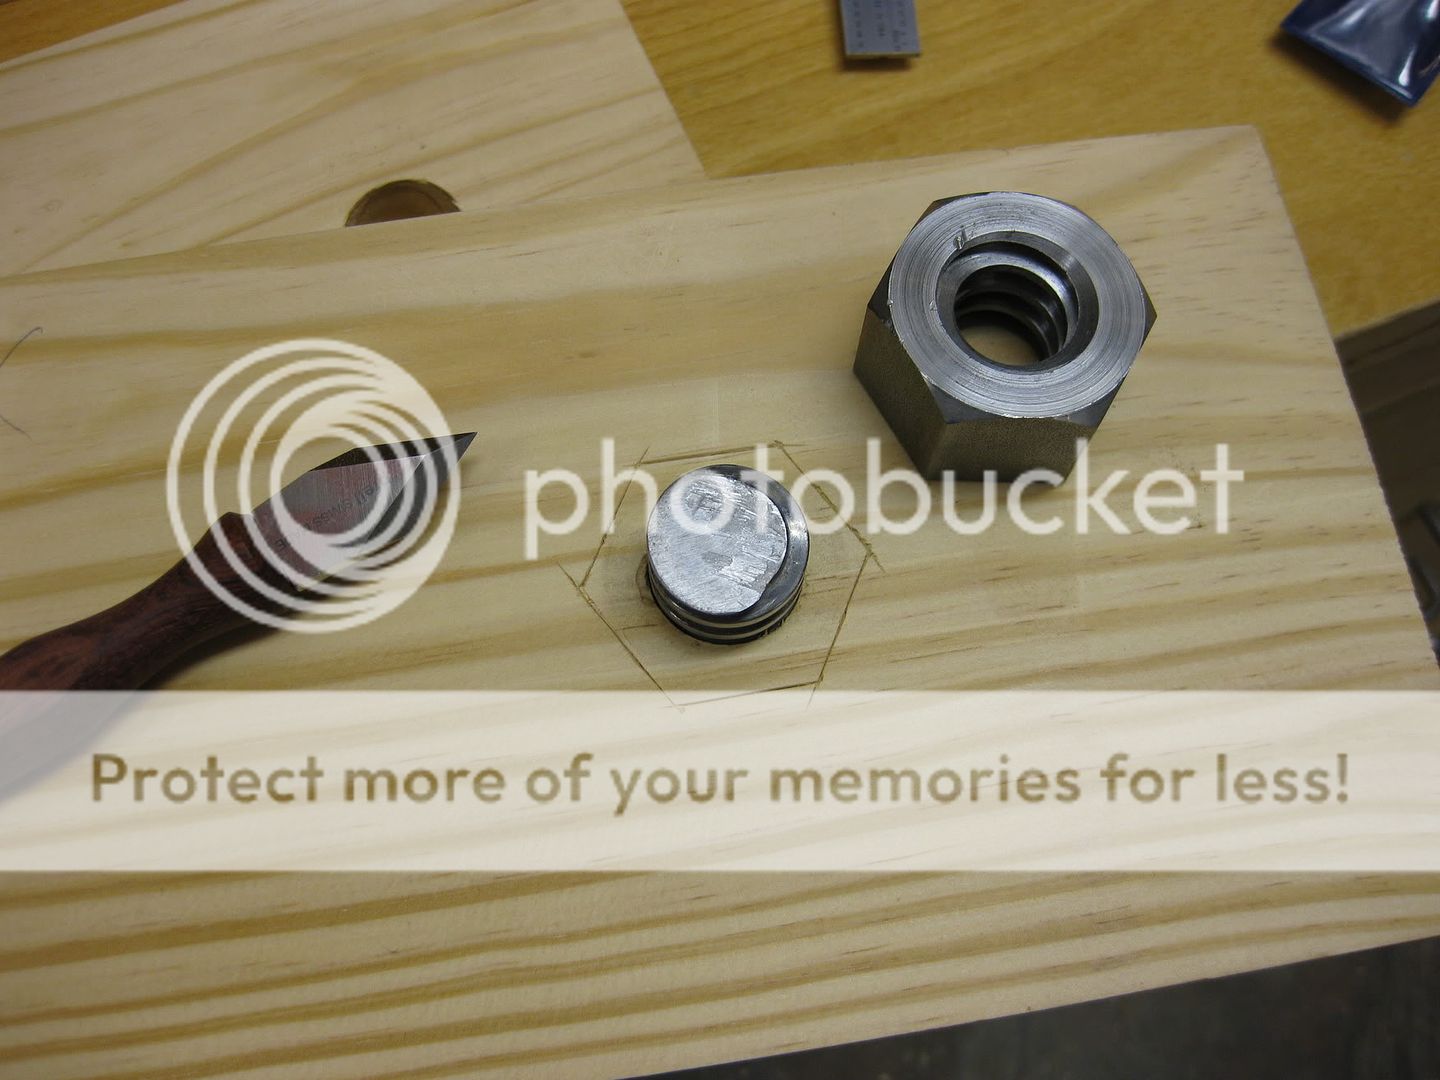 |
| I used a knife to mark the locations of the nuts on the back of the vise. |
 |
| A little drilling and chiseling created a recess for the nut to sit in. |
 |
| The nuts are just friction fit, though a little epoxy would work fine also. |
Here is the completed Moxon vise, shown from the back. You can see why the nuts are countersunk, so they won't rotate when you tighten the screws.
 |
| All the edges are chamfered, and a little danish oil makes a good finish |
The Moxon vise sits on top of your regular workbench, and you can just clamp it down to the bench top. This provides a rock-solid way to clamp a board for working on the end. It's great for hand sawing, and also raises the workpiece up to a much more comfortable height.
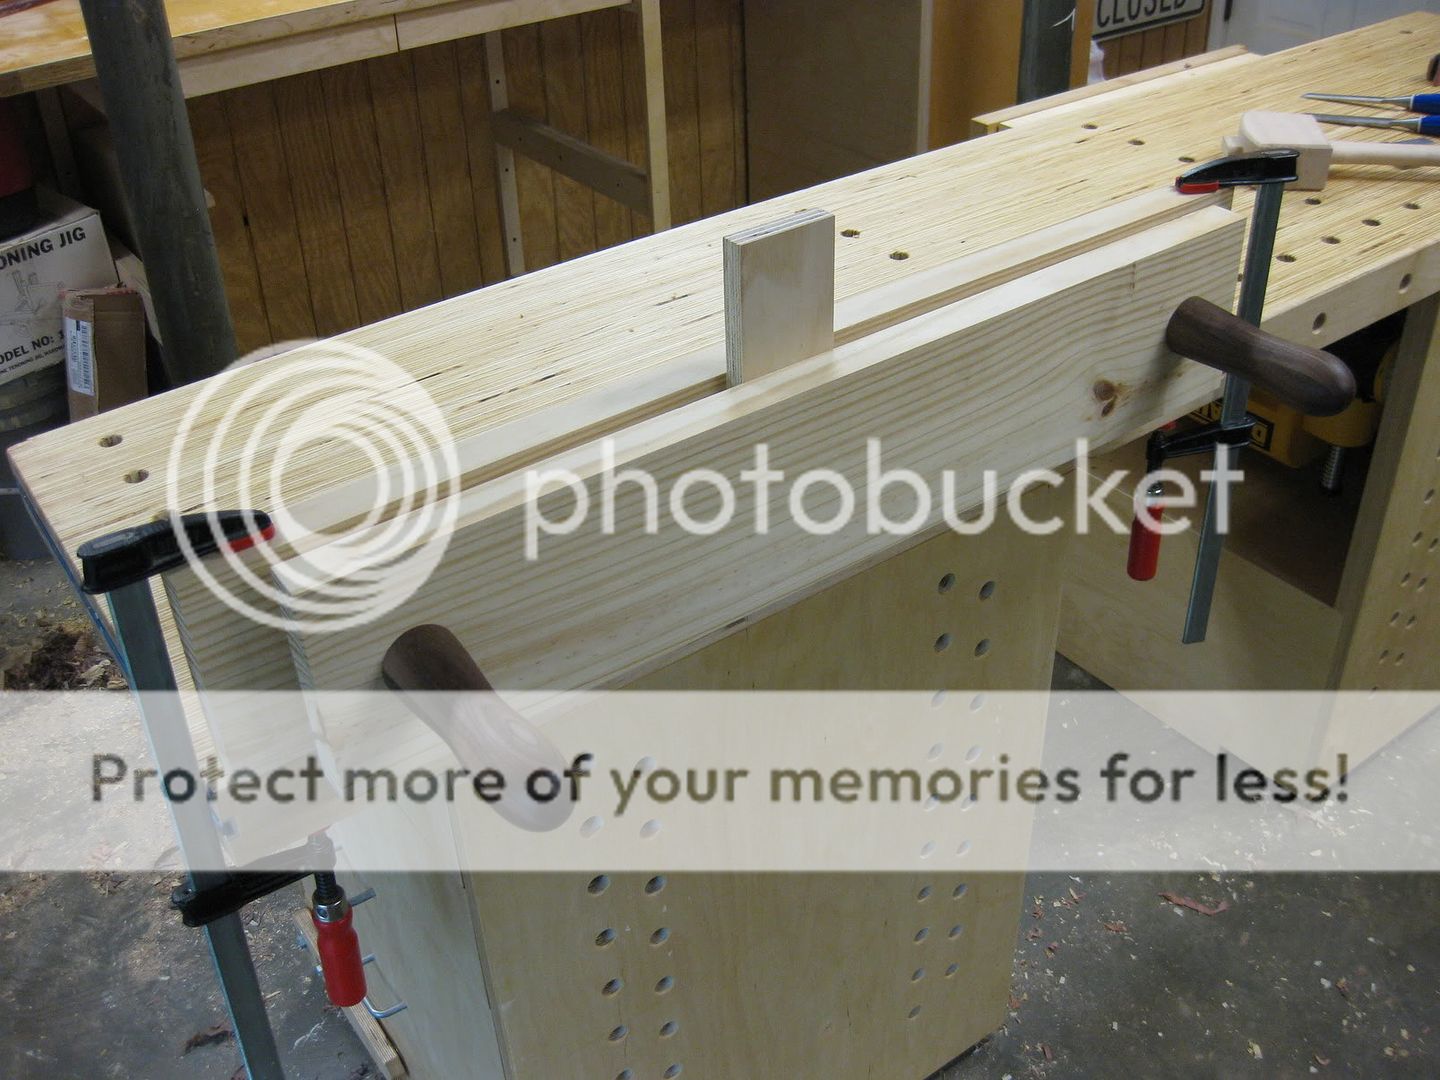 |
| With 24" between the screws, you could dovetail the side of a cabinet in this vise. |
I can see why this vise has become so popular among woodworkers. It's an easy build, and really is specialized for working the ends of boards. Combine this with other vises on your bench, and you will be all set for any hand tool woodworking.
Here is a picture of my wacky English woodturning neighbor giving the vise a test drive. I think he likes it!
 |
| He's having a little too much fun! |
Have you built a Moxon vise? Let's hear about it in the comments!