Because of my desire to break down the bench for daily storage, I challenged myself to come up with work holding solutions that don't require vises permanently mounted to the bench top. Vises add weight and complexity, and the good news is that with a few accessories they aren't needed. Hey, I'm not saying I wouldn't love to have a nice Benchcrafted Tail Vise, but it's not going to work on this bench.
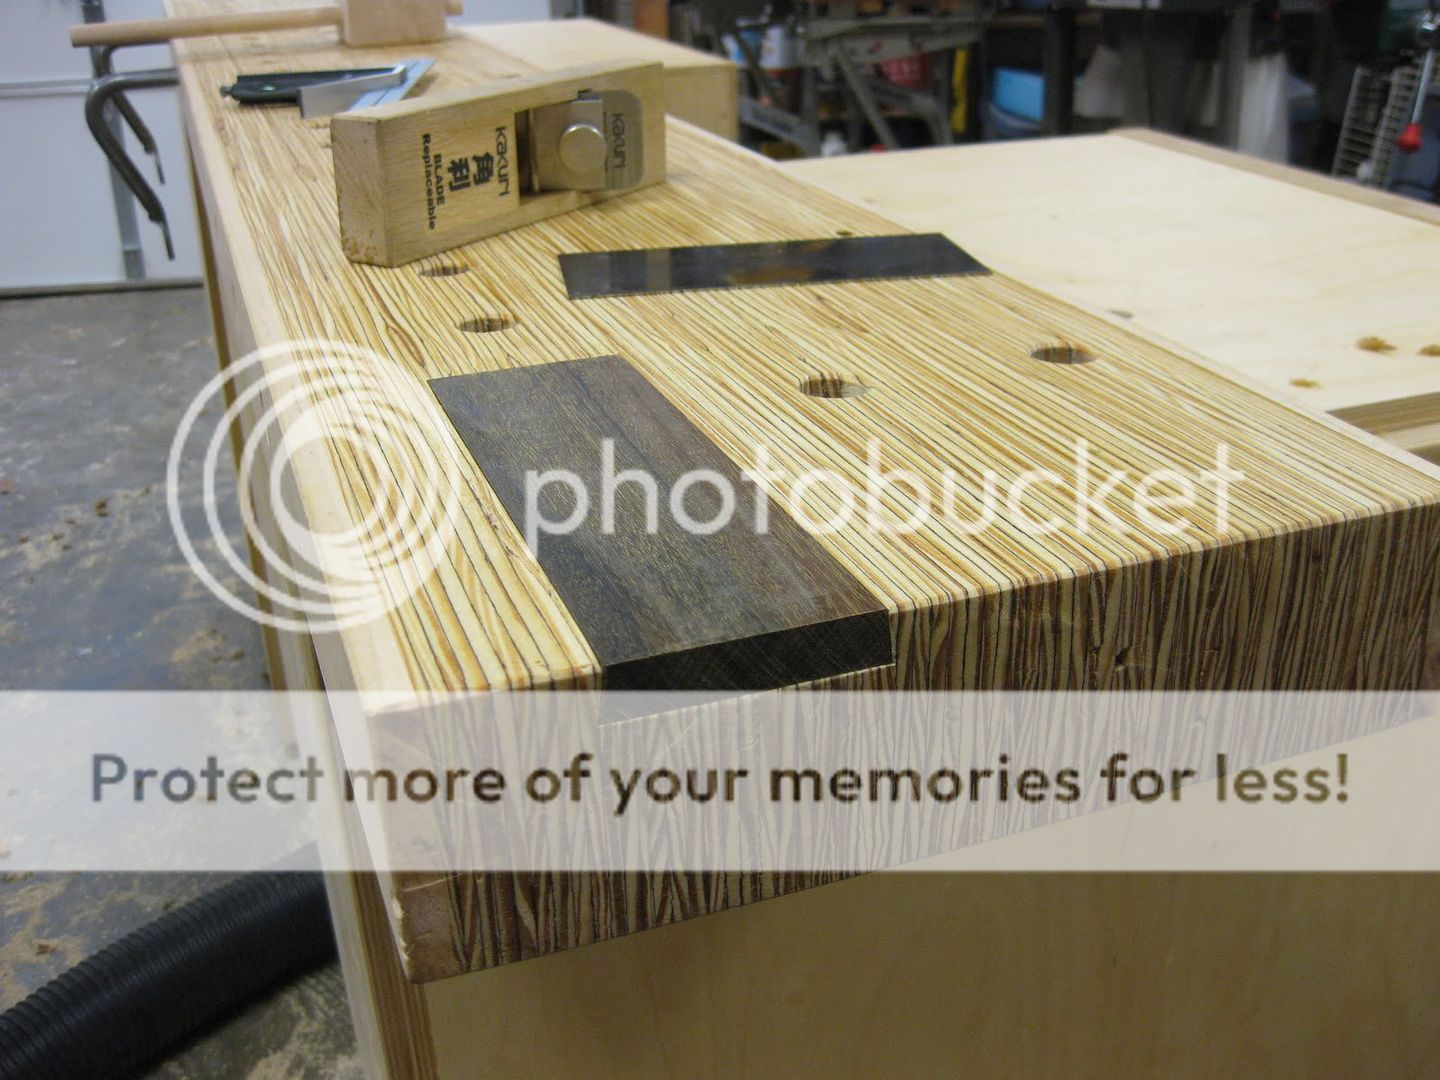
If you haven't been following along, here is the bench in all its naked vise-free glory.
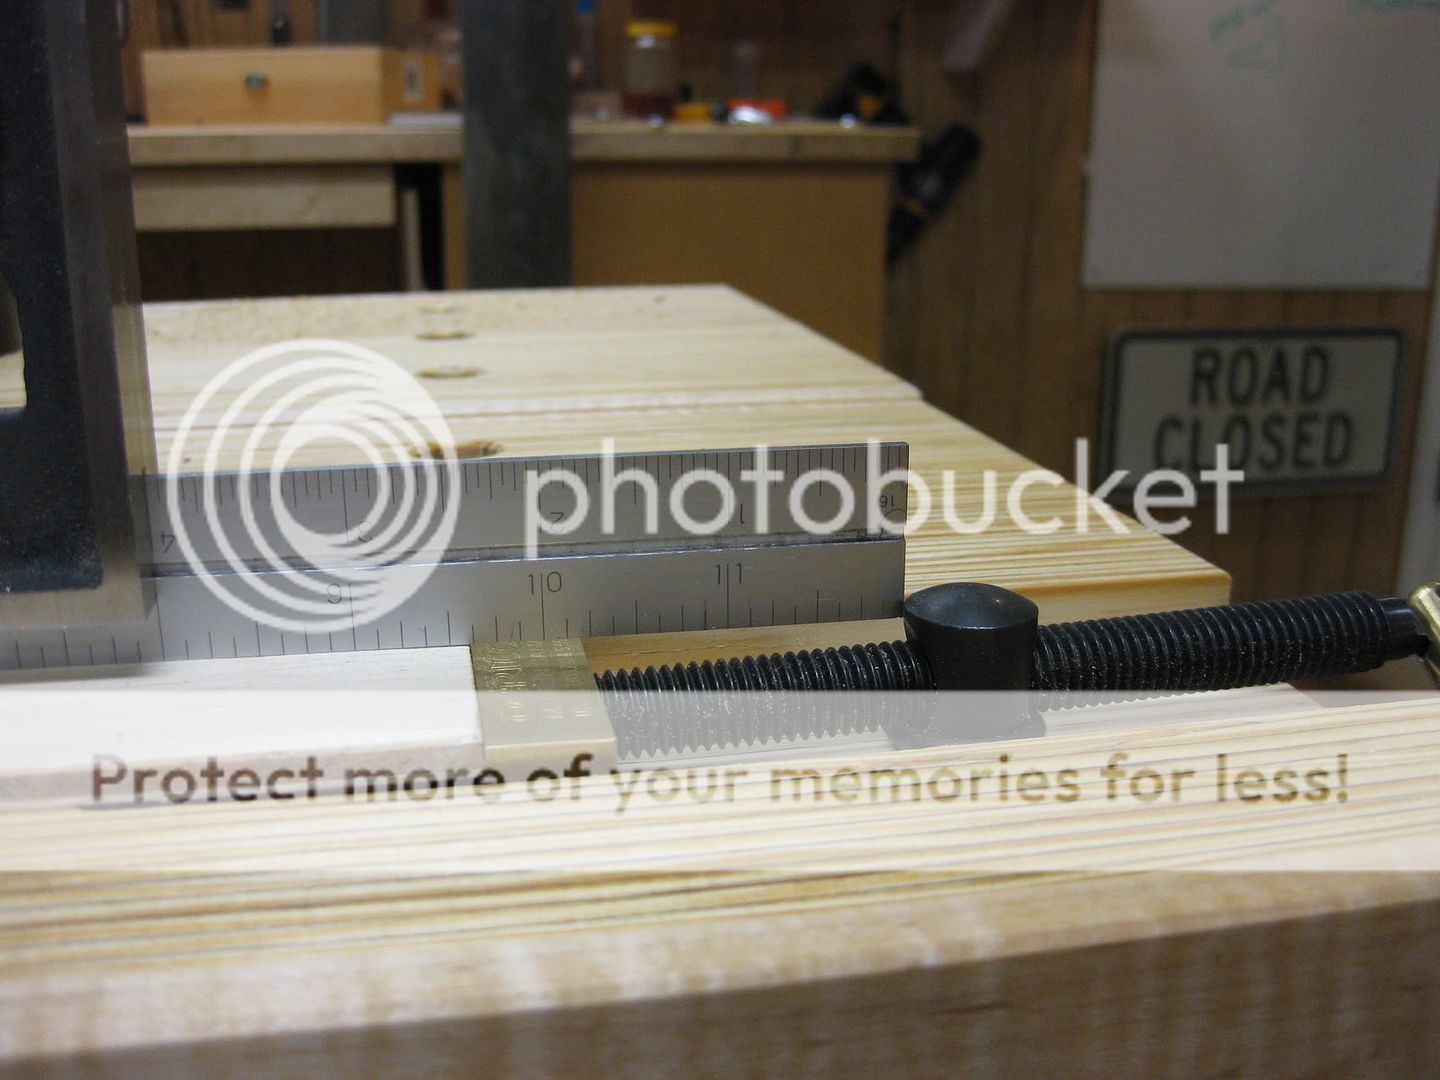
For the tail vise duties, I turned to a Veritas Wonder Pup. This is a clever little gizmo that seats into a standard 3/4" dog hole.
I chose the the Wonder Pup because it has a shorter shaft than the Wonder Dog, so I can use it in any hole in the bench without hitting the cabinets below. Both version have a total range on their screws of about four inches, so as long as your dog holes are closer than that you have total coverage to hold any length board. In the picture above you can see that the first hole in the front corner is about three inches in from the end of the bench. This is helpful because the handle of the Wonder Dog will overhang the end of the bench and be easier to spin quickly. The screw pitch is fairly tight on these, so for big adjustments I hold the Wonder Pup by the screw and shake it around until the shaft spins around like a hula hoop.
To hold a workpiece to the bench, just put a regular bench dog at the other end and use the Wonder Pup to apply pressure. As you can see below, even with thin stock the dog can be adjusted low enough to be out of the way. By the way, I don't ever plane 1/4" thick plywood. This is just to show the options for holding thin stock.
 |
| It's possible to get a bench dog low enough to hold 1/4" thin material. |
Even among fans of the Wonder Dog, they will agree that it isn't great for working with thin stock. The block on the end is 5/8" thick so it works fine for 3/4" or thicker material. You often see the suggestion to add a thin tapered block to the end of the Wonder Dog, and the two screw holes in the block make this possible. You also sometimes see the suggestion to add support shims underneath a workpiece to hold it up higher off the bench, but the difficulty is needing a lot of different thicknesses and widths to support different sized boards.
 |
| The standard Wonder Dog isn't great at holding thin stock. |
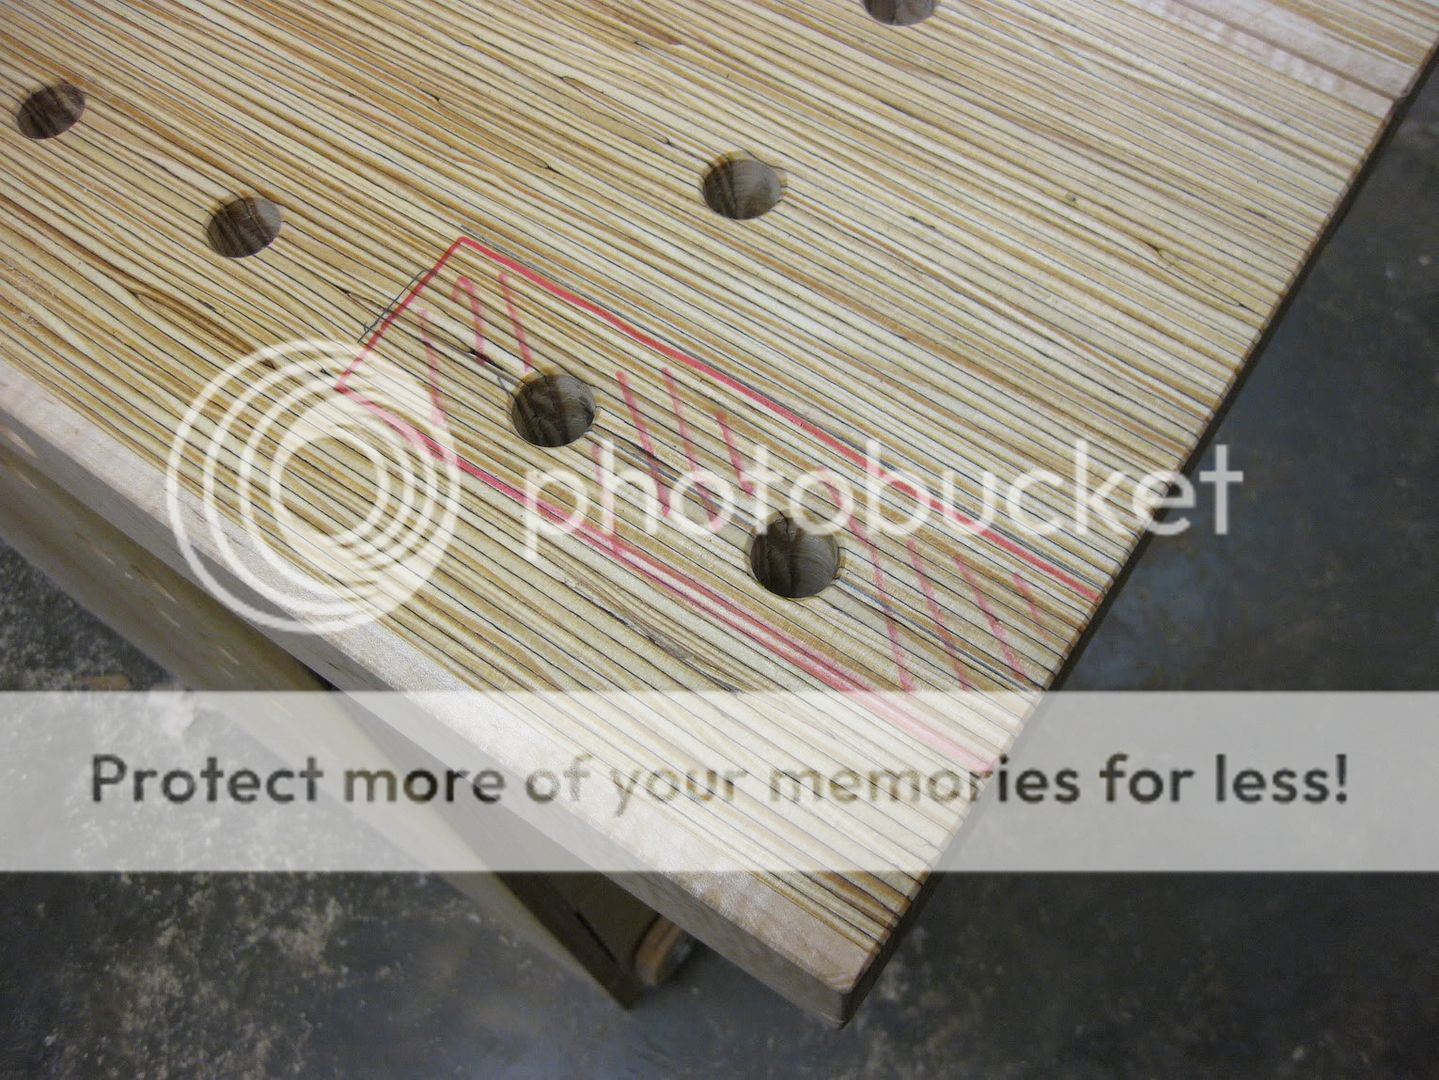
All of the information above is old hat if you have read about workbenches elsewhere. This is where I am going to take you off the beaten path. Instead of messing around with shims or tapered blocks, I recommend making a shallow pocket in your bench top for the Wonder Dog to sit in. Here is the outline of the pocket, just slightly wider than the head of the Wonder Dog. The total length is about 7 inches so that both dog holes can still be used.
 |
| The plan is to remove the area marked in red. |
To make the pocket, I made a quick router template. I hogged out most of the material with a straight bit, then finished up with a dovetail bit around the edges. This creates a sliding dovetail so that I can use a filler block in the pocket when I don't need it. I used an 8 degree dovetail bit since I was trying not to undercut the LVL too much. In a standard hardwood bench I don't think the angle would matter.
 |
| Use a router to create a sliding dovetailed pocket in the end of the bench. |
The pocket is 1/2" deep, so the head of the Wonder Dog sticks up only about 1/8" above the bench surface. This is adjustable, so you could of course raise the whole assembly to get anything between 1/8" and 5/8'. With this pocket, the Wonder Dog is able to clamp thin stock like a champ.
 |
| Wonder Dog + 1/2" deep pocket = thin stock clamping goodness |
The next trick is to make a filler block to close up the pocket when it's not needed. Thanks to the dovetailed sides of the pocket, this can just slide in from the end of the bench. I made a block out of some Ipe in my scrap bin, but any hardwood should be fine. I cut the block on the table saw to get the 8 degree sides and snuck up on a nice friction fit with a hand plane and scraper.
 |
| Filler block should be a nice friction fit |
 |
| The block will be easier to slide after the two holes are drilled in it. |
After I had the block fit correctly, I used a forstner bit to mark the locations of the dog holes from under the bench. Then just drill the dog holes in the filler block and chamfer the edges of the holes.
This little modification really helps get rid of a big limitation of using the Wonder Dog as a tail vise. When you want to work on thin material, just slide out the filler block.
 |
| Holding thin stock - filler block removed |
Most of the time the filler block stays in the pocket, and the Wonder Dog works normally.
 |
| Filler block does not affect normal operation of the Wonder Dog |
There are a couple other tips I can give you. If you are trying to plane a thin board that is also less than two inches wide, you may find that the end wants to sink down into the pocket since it is unsupported. For this, I kept a little offcut from the filler block and put it in the pocket to support the workpiece. I haven't ever needed it, but I keep it in the drawer just in case.
 |
| Narrow boards may need a little support to keep them out of the pocket |
One last thing about the Wonder Dog is that the top of the anchoring shaft sticks above the holding block. This can interfere with planing, even on 3/4" thick stock. This is another great reason to use the pocket even on thicker stock - to get the shaft out of the way of a plane. It's not all that problematic though since most right-handed woodworkers will plane away from the shaft.
 |
| Top of the shaft can interfere with planing |
I'm not suggesting that this little modification makes the Wonder Dog the perfect tail vise. For a permanent bench I would probably still consider a more traditional tail vise, just for the convenience. For me though, this is a good enhancement to make the relatively cheap Wonder Dog perform a new trick. Sorry about that.
What type of tail vise does your dream bench have? Next time, more bad puns! Thanks for reading.


6 comments:
Aaron,
Very nice post. The recess to make the Wonder Pup more useful is brilliant.
As for my tail vise, on my current, commercial bench it is just a wooded face vice in the tail vice position. On the bench under construction it will be the new Veritas quick release tail vise I picked up at WIA.
Ooh, that's a nice vise too, Dyami. I saw it in action on the Gluebo, Megan Fitzpatrick's LVL bench. Looks like a very simple retrofit and that litle switch for fast action is genius.
Thanks for the comment!
Aaron,
No problem. I can't wait to bust out the tail vise!
That was an excellent idea Aaron.
Eric
Hi Aaron,
I just added your blog to my RSS feed (I know - why wasn't it there before?) and am catching up. Your solution for planing thin stock with the Wonder Dog is very inventive, but it still bothers me that the top of the post is proud as I don't usually skew my plane enough to get the heel around the post.
Chris
Chris, welcome to the party! Better later than never.
I agree, it's irritating that the top of the post is so high. All the more reason to use the "pocket" when planing. For regular 3/4 stock this eliminates the problem. The only time the post is still an issue is with thin stock, less than 1/4" or so. I rarely plane this anyway.
Post a Comment