Showing posts with label Vise. Show all posts

Tuesday, March 06, 2012

Woodworking Doodles

This is what happpens when a woodworker is stuck on a boring conference call.  I've had leg vises on my mind lately.
Exploded leg vise


In case you were wondering, SketchUp is just an enabler for my natural tendencies.

Monday, September 12, 2011

Moxon Vise with Metal Screws

Workbenches and vises have been very popular topics for magazines, bloggers, and manufacturers for the past few years. Thanks to Chris Schwarz and others, we have all been able to dive deeply into workholding theory for the shop. Building a capable workbench is becoming a rite of passage for modern woodworkers.

It doesn't look like this resurgence will slow any time soon. In fact, there are a couple great workbench builds going on right now across the web. For instance, check out Kari Hultman's blog, The Village Carpenter as she begins construction of a Roubo style bench. In addition, Marc Spagnuolo has announced that the winter build for The Wood Whisperer Guild will be a Benchcrafted Split-Top Roubo Workbench.

One design that has gotten a lot of recent attention is the Moxon Vise, which is a handy clamping accessory for working on the ends of boards. It excels at holding boards for dovetailing or tenoning with a hand saw. Based on a 17th century manuscript by Moxon, the common design spreading through the woodworking world comes from a recent article in Popular Woodworking Magazine by Schwarz. That guy is everywhere! The Moxon is a twin-screw vise that clamps on top of your workbench, so it raises the work up to a better height for sawing.

Schwarz's version of the Moxon vise
One downside to the Schwarz design is that it uses shop-made wooden screws, so you will need a threading and tapping kit.  This is about a $50 pain in the butt, and I've heard that the tapping kits are very finicky and tough to get working correctly.  On top of that, wooden screws will expand and contract with seasonal humidity changes so they may not always work smoothly.

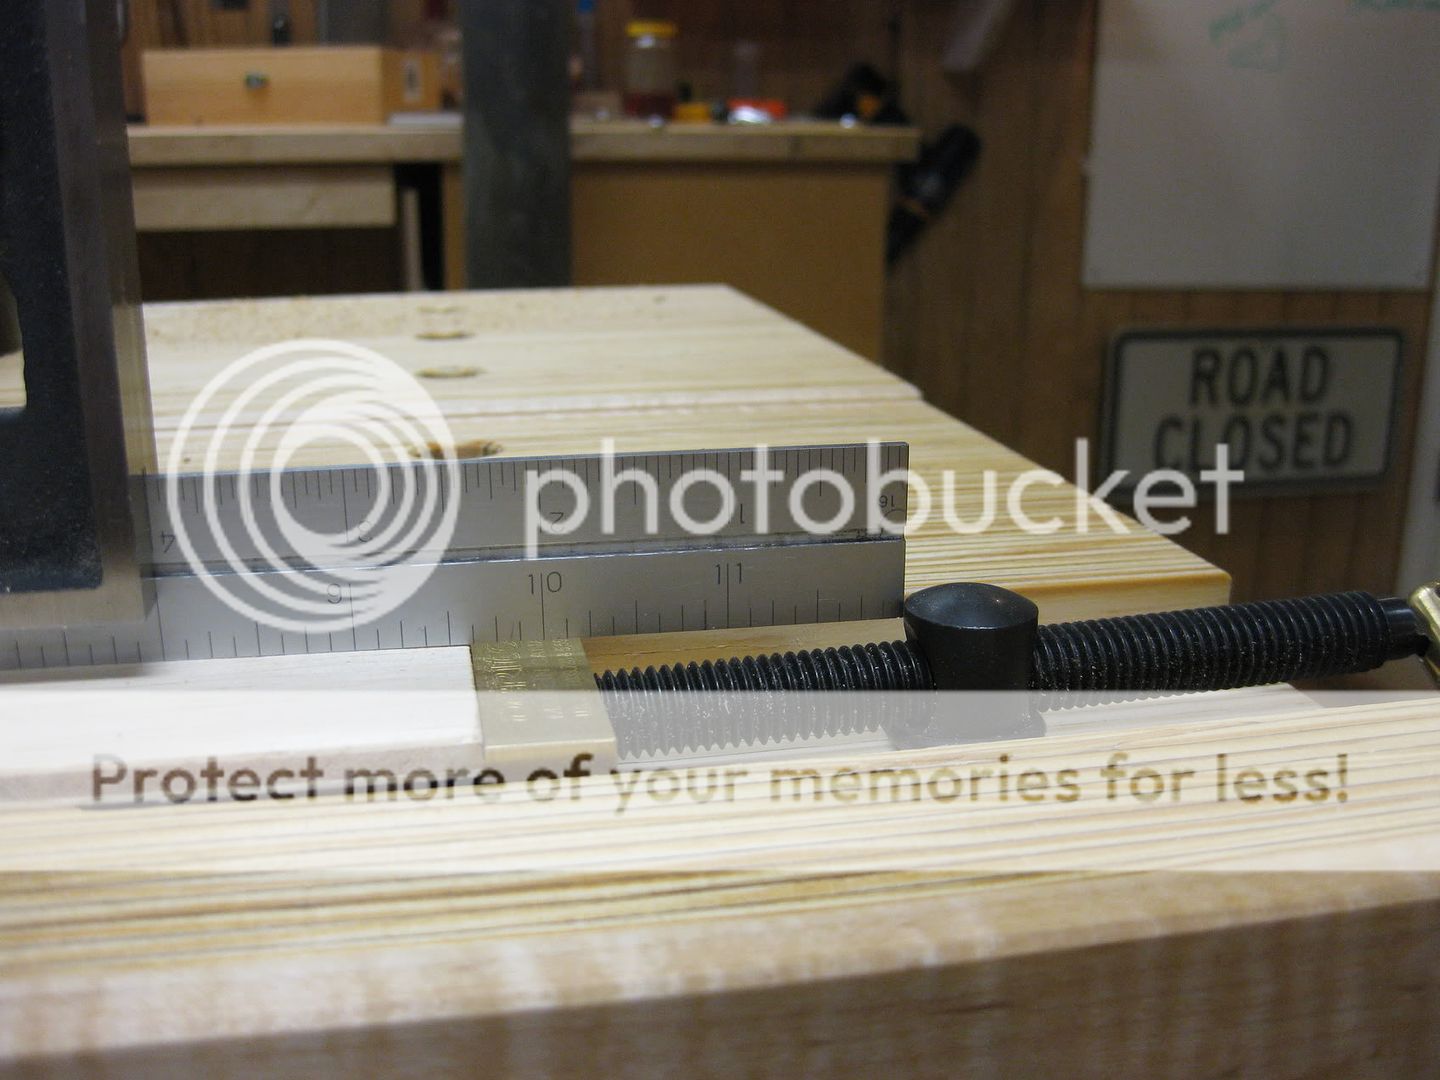
After a little googling, I was able to find a cheap source for some 1" metal rod with Acme threads.  Using metal screws avoids the problem of working with a threading kit, and another bonus is that the metal screws are 4 tpi (threads per inch).  The wooden threading kits I found were 6 tpi, so the metal screws should screw in and out 33% faster!

I got the stuff from surpluscenter.com and the part numbers you need are 1-2983-100-3 for the threaded rod and 1-2984-100N for the nuts. I tried to find some surplus Acme rockets like Wile E. Coyote used, but no luck there.  Total cost for 3ft of threaded rod and four nuts was about $60 plus shipping.  This is enough for two Moxon vises, so the cost is about the same as a threading kit.

This is all the hardware you'll need for a couple Moxon vises

The first task was to cut up the threaded rod into smaller pieces.  I needed 7" lengths of thread for my design, which yields a 2 1/2" capacity in the vise.  If you want to hold thicker boards, you may need longer screws.

I rigged up these little stands to make cutting the threaded rod easier

I wanted to cut 7" sections of the rod for my purposes

You could go crazy with a hacksaw, but I used a sawzall to make the cuts.
Slip the blade into the slot in the stand to keep the cuts as straight as possible.

Flip the stand on its side and use a metal vise to clean up the cut.
Get it close to 90 degrees, and remove all sharp edges that can injure you.

My neighbor is a wood turner and he was kind enough to turn a couple walnut handles for me.  Did I mention how much walnut we have?  The plan was to epoxy the threaded rod into the handles, and it worked like a smelly, sticky charm.

One of the walnut handles my neighbor made, a section
of threaded rod, and 5-minute epoxy.  What could go wrong?

Put the epoxy into the hole, and work the threaded rod down into
the epoxy so that the threads get filled up.

Next, I needed to make the vise body and front chop.  I used a seasoned 2x10 that was laying around the shop (well, my neighbor's shop...but he looked the other way for a couple seconds too long!)   I stayed pretty close to the dimensions from Schwarz's magazine plans.  With luck and planning you will end up with a little more than 24" between the screws.

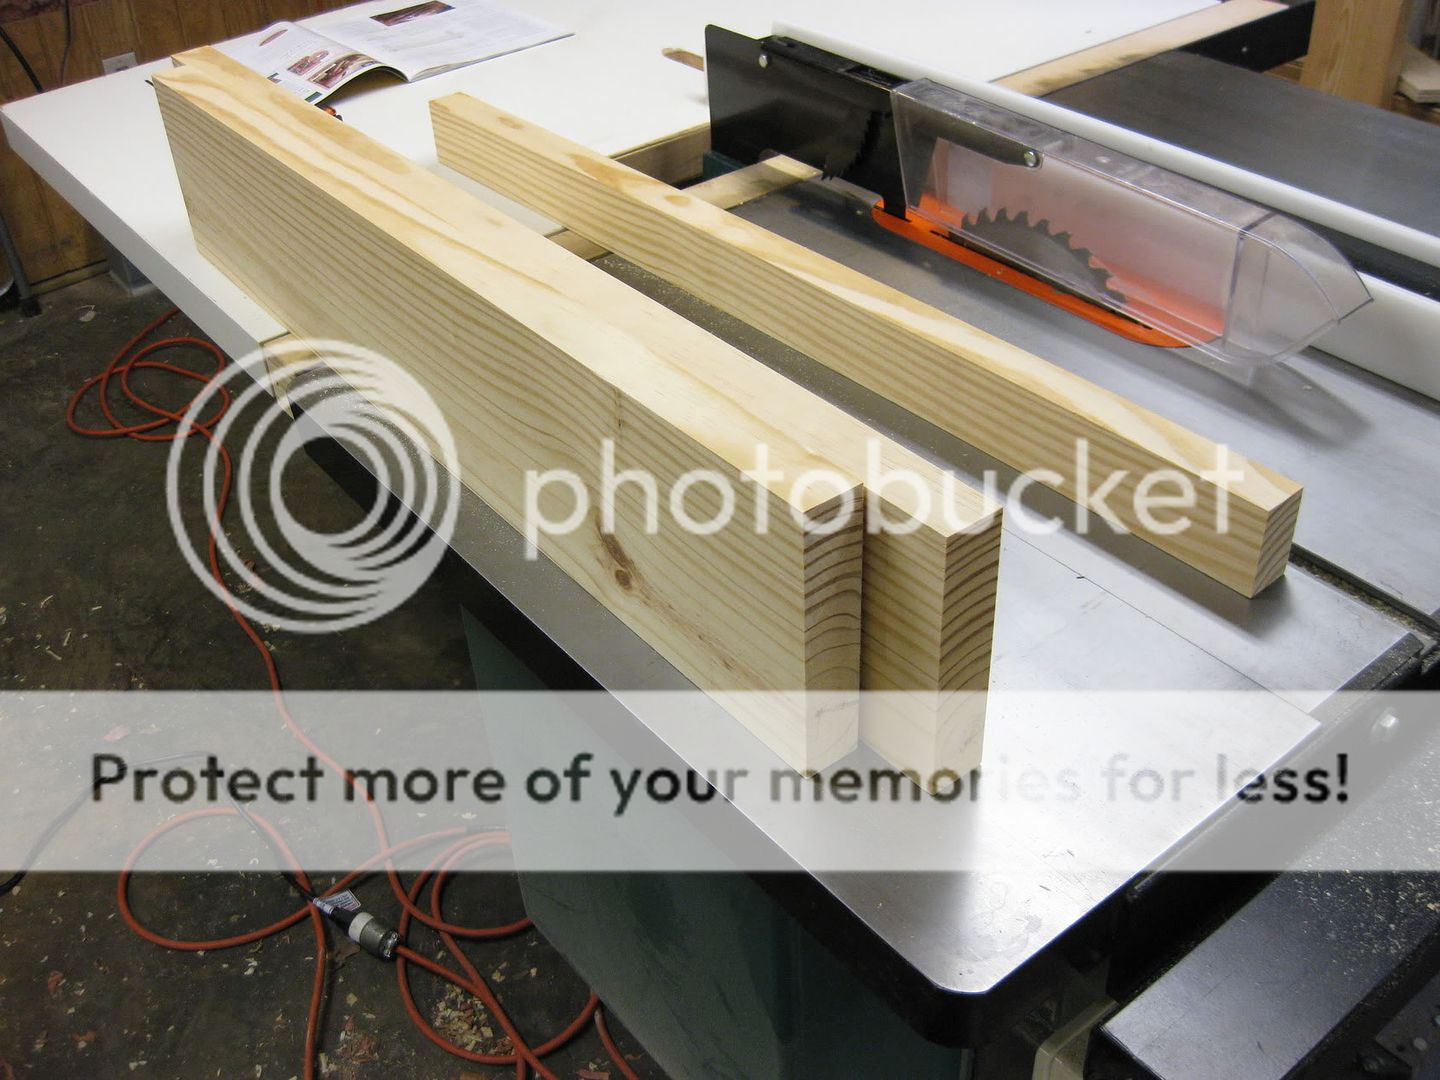
Front vise chop, rear body, and stabilizing support were cut and milled square.

The screws go through the front chop, and thread into the rear body of the vise.  For the wooden-screw versions, you would need to use a tapping kit to cut some threads in the holes in the main body.  I simply drilled some 1" holes and sunk the nuts into the back of the body so they wouldn't spin.

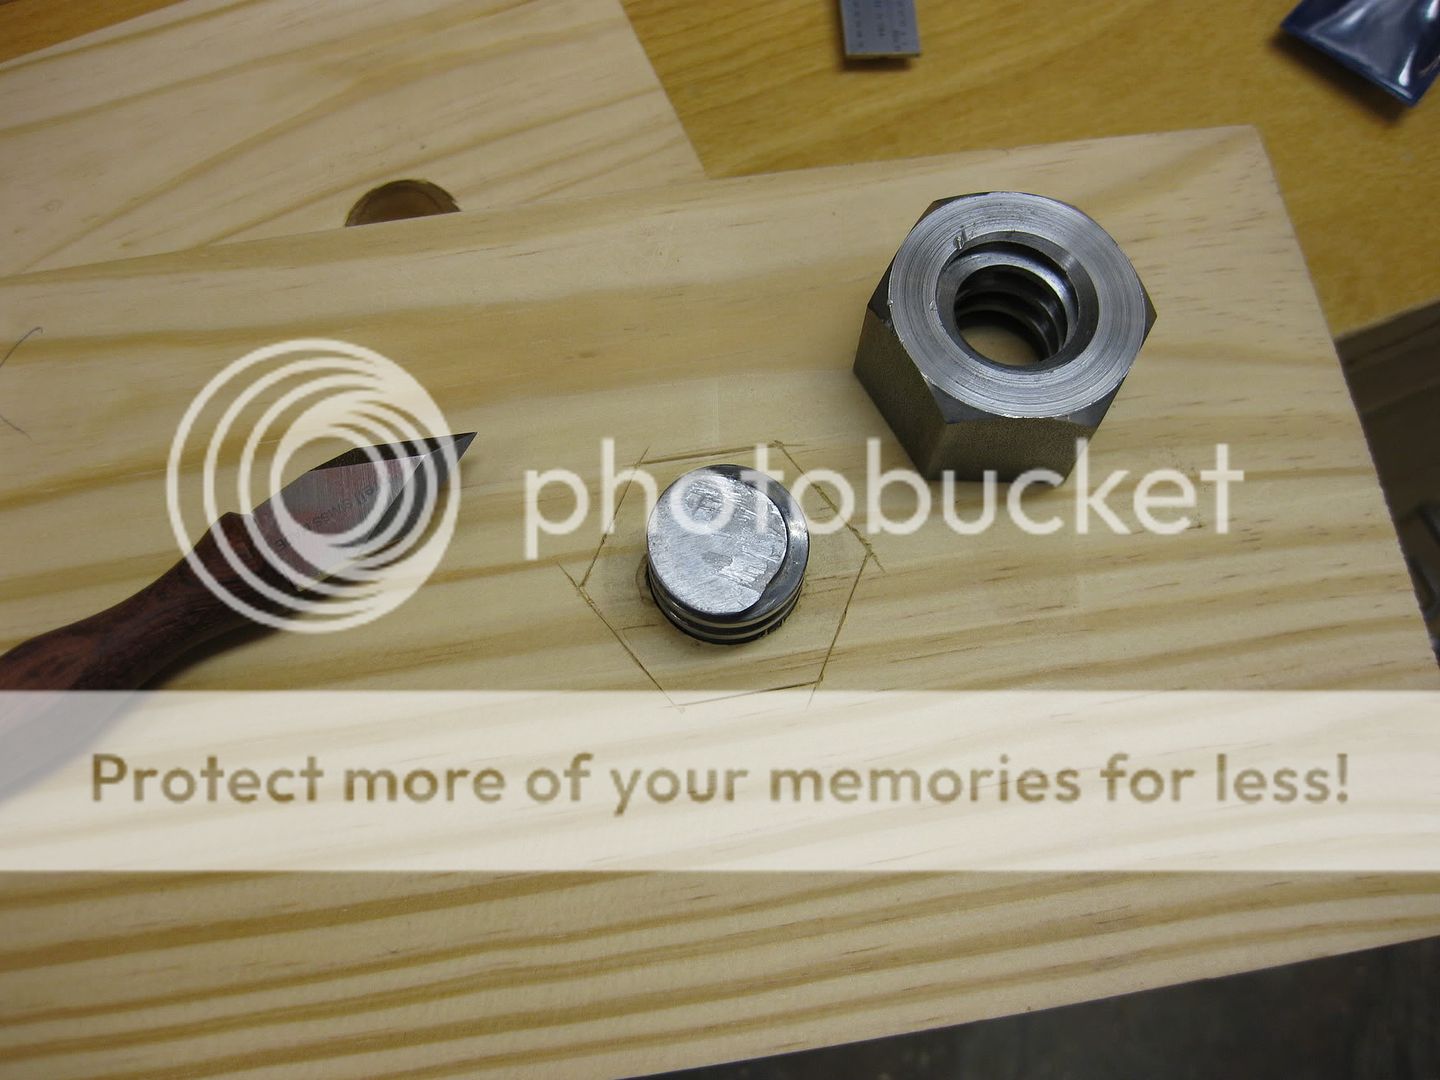
I used a knife to mark the locations of the nuts on the back of the vise.

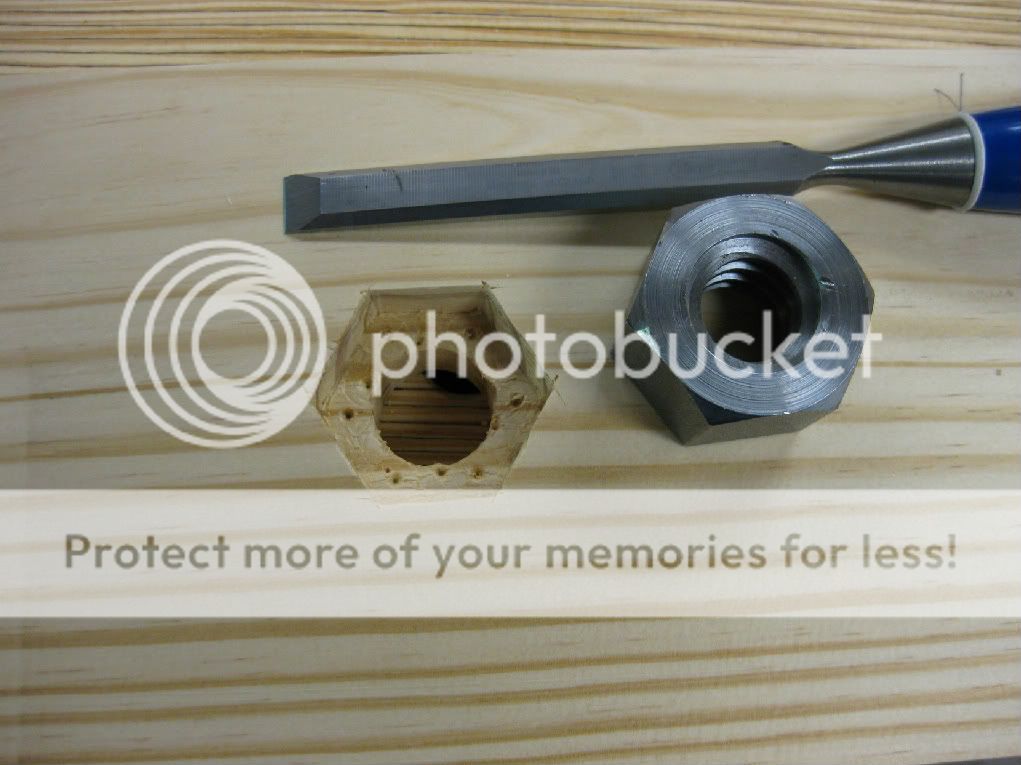
A little drilling and chiseling created a recess for the nut to sit in.

The nuts are just friction fit, though a little epoxy would work fine also.

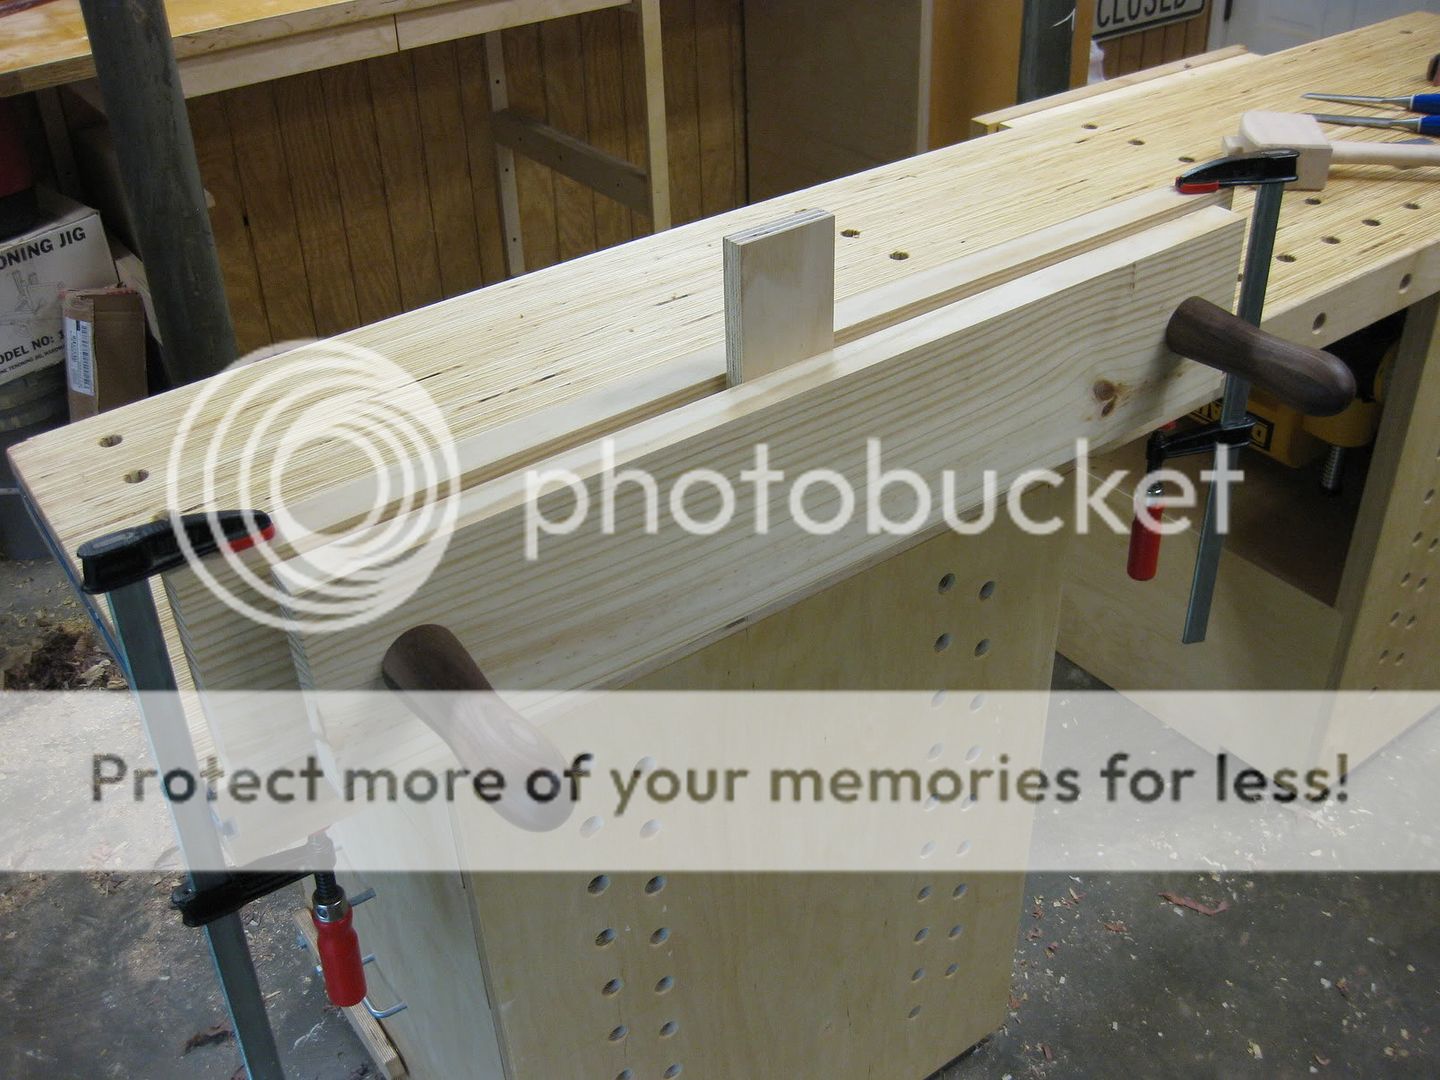
Here is the completed Moxon vise, shown from the back.  You can see why the nuts are countersunk, so they won't rotate when you tighten the screws.

All the edges are chamfered, and a little danish oil makes a good finish

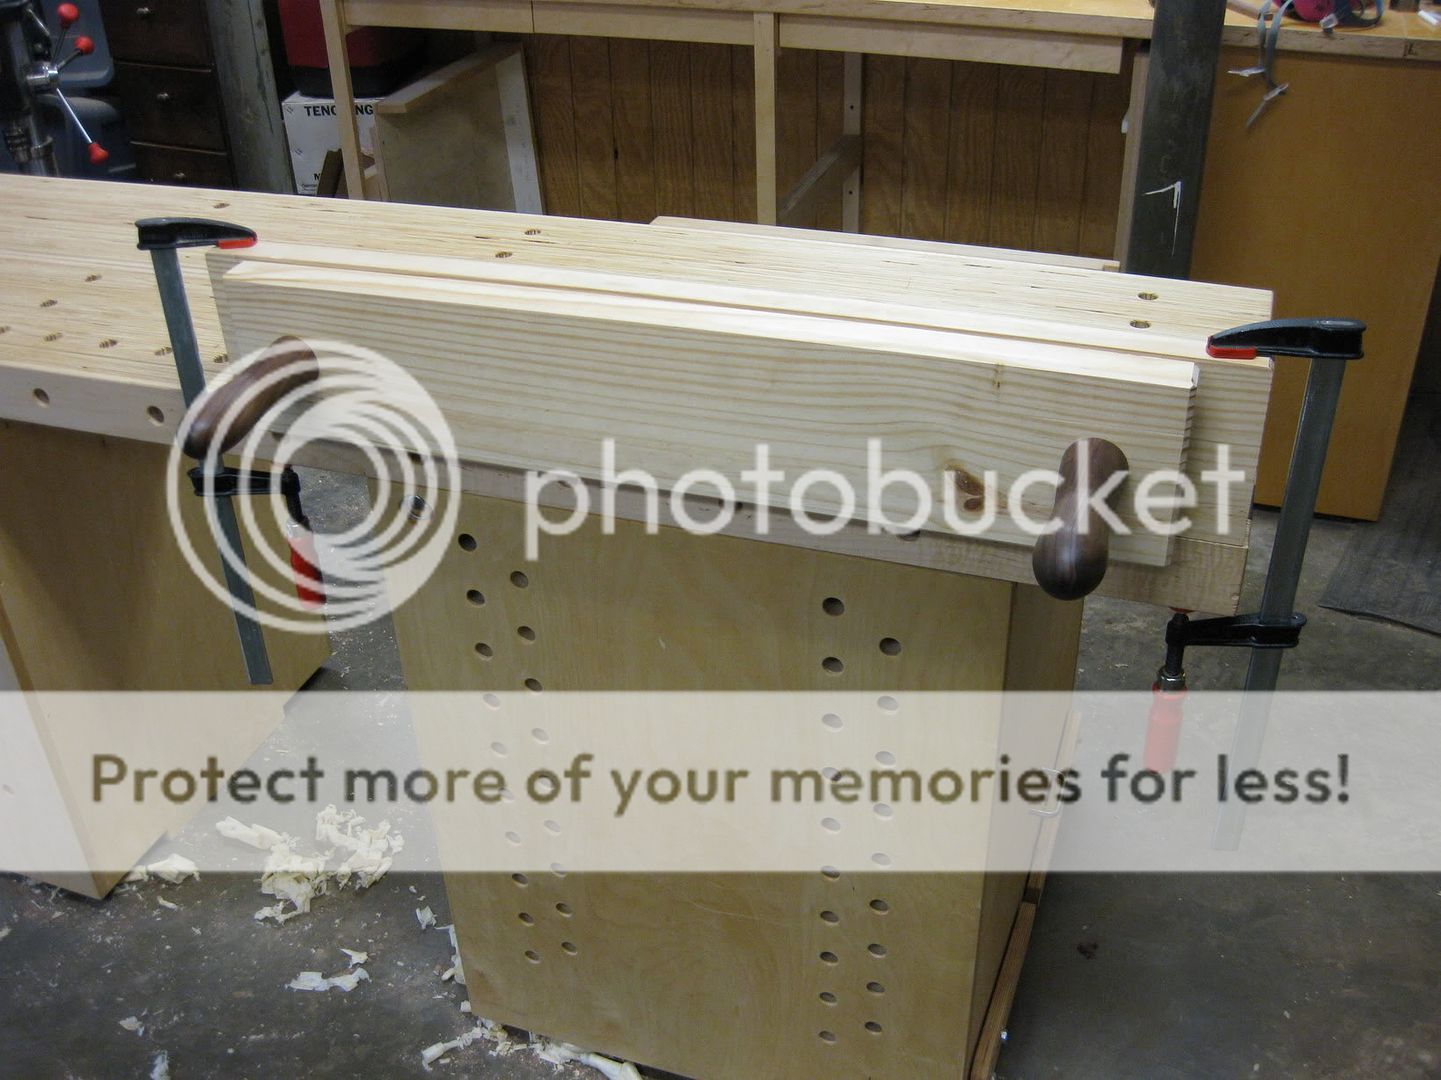
The Moxon vise sits on top of your regular workbench, and you can just clamp it down to the bench top.  This provides a rock-solid way to clamp a board for working on the end.  It's great for hand sawing, and also raises the workpiece up to a much more comfortable height.

With 24" between the screws, you could dovetail the side of a cabinet in this vise.

I can see why this vise has become so popular among woodworkers.  It's an easy build, and really is specialized for working the ends of boards.  Combine this with other vises on your bench, and you will be all set for any hand tool woodworking.

Here is a picture of my wacky English woodturning neighbor giving the vise a test drive.  I think he likes it!

He's having a little too much fun!
Have you built a Moxon vise?  Let's hear about it in the comments! 

Tuesday, May 31, 2011

May Activities

A lot has happened in the last month, though you wouldn't know it from my lack of posts.  This post will be a bit of a brain dump, just to get the blogging area of my head aired out a bit.

For much of the past month, I was working on preparations for the newest Guild Build over at The Wood Whisperer Guild.  It's a Greene & Greene inspired Adirondack chair, and Marc and I held a lot of design sessions to get the plans finished.  With these Guild Builds, I started simply helping out with the SketchUp work but it has evolved over time to really be a collaborative design effort between the two of us.  I will finally be building one of these projects, and brought home a few cypress boards the other day to begin construction.  This one will be fun, so stay tuned.

Greene & Greene inspired Adirondack Chair

I also started work on a walnut desk for my wife.  It will be a modular design, and the top is already completed.  I bought a metric butt load of walnut recently and this is the first of many walnut projects to come.

Walnut Desk - Top is completed
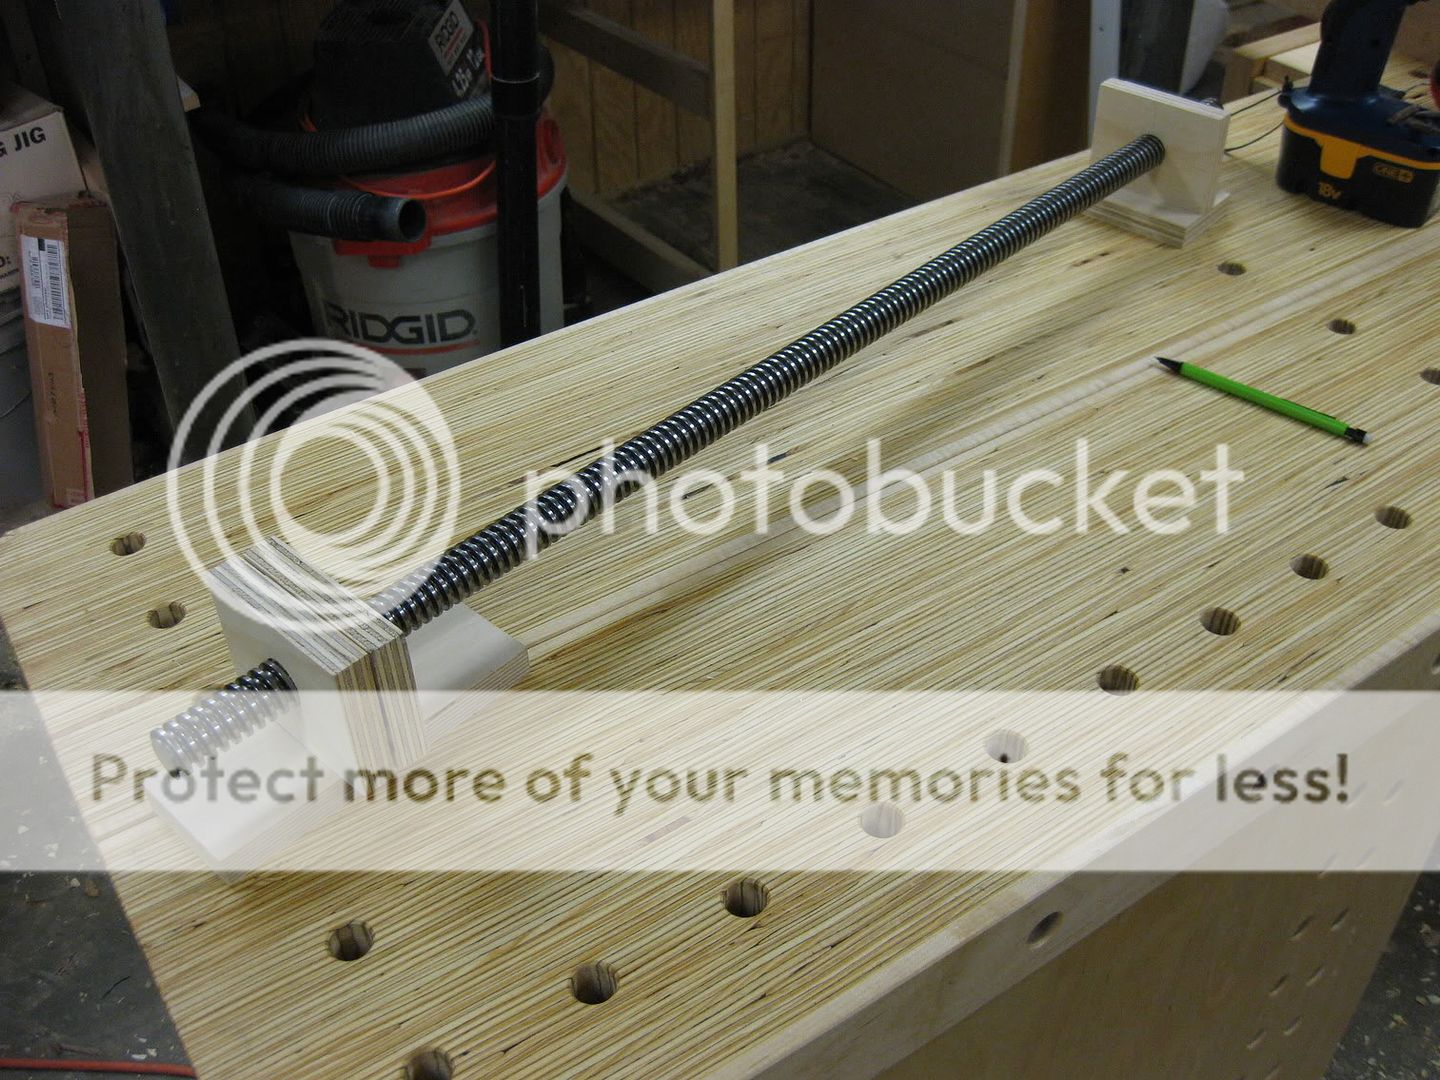
There have also been some upgrades to the shop, as always.  After using my "Swiss cheese" workbench for a few months, I have decided to enhance my work-holding by building a Moxon-Schwarz saw vise.  The design was featured in Popular Woodworking Magazine last year, but I made a few modifications.  The biggest change I made was to use metal screws instead of shop-made wooden threaded screws.  I found a great cheap source for some 1" diameter, 4 threads-per-inch metal screws and matching hex nuts.  You'll probably be seeing more about this later, but here is a quick teaser shot.

Moxon-Schwarz Saw Vise
Metal Vise Screws?  Crazy!
Summer is fully here in Georgia, and it is getting hot.  In the coming months I'll be working on the Adirondack and the Walnut Desk, with a couple detours into other fun little projects. 

Thanks for checking in!  As always, questions and comments are very welcome.

Thursday, December 16, 2010

Blast from the Past: Wire Trick

As I have said in the past, the many volumes of the Popular Mechanics d-i-y Encyclopedia are fascinating to read.  They offer a glimpse into the shops of our fathers and grandfathers, where throwing out even a single useful scrap was frowned upon.  I'm sure that there was more than one basement workbench crowded with jars of bent nails waiting to be straightened.

In between the regular entries in the Encyclopedia, there are pages dedicated to simple tips and tricks.  Some of these "Clever Ideas" are pure gold, and we are starting to see them come back around today during our collective re-awakening to hand tool use.  For example on the page shown below at the 9 O'clock position we see that adding a leather strip to the inside of a vise makes a better working surface.  This trick is repeated even today by the most revered workbench gurus of our generation.


There are a couple other tips on the page that wouldn't be out of place in one of the magazines on today's newsstand.  A modified sawhorse used as a table saw outfeed?  Check.  Add scrap to a shelf to let you easily paint each side?  Check.

Then you get to the last trick on the page, in the bottom right corner.  How to straighten bent wire with an ingenious little jig.  I can imagine my grandfather bent over his bench, pulling a 2 foot section of wire through a few nails.  Many folks would agree that the generations alive in the 1930's adapted these habits out of necessity during the Great Depression.  I wonder though - when did this thriftiness leave us as a nation?  Was it purely generational, like flipping a switch?  Or did it slowly fade away until more and more shop supplies were purchased as needed from the shelves of the big box stores?  I wonder if you mapped it out on a timeline if you would find that in 1983 it was already fine to throw away wire, and we were in the last days of hanging on to bent framing nails.

Today it seems silly to keep those jars full of leftover screws, hinges, razor blades, brad nails, picture hooks, doorknobs, light switch plates, bent springs, washers, non-programmable thermostats, kitchen cabinet handles, rubber feet, and of course wire.  I don't have a whole bench full of the stuff like my grandfather did, but there is that one jar.  You know the one. It's in the back corner of the top cabinet over your bench.  The one that sometimes saves the day with a long forgotten bit of scrap, just the right size and shape.  As if it's been waiting like some little bit of magic for you to remember.  When that happens, I can't help but think out loud "Thanks, Gramp."

What is the weirdest thing you can't throw away? Are you a hoarder or a minimalist in your shop?

Tuesday, December 14, 2010

Tail vise? I Wonder.

Wow, the titles to these posts are getting silly.  In this case though it's accurate also.  There is no tail vise on my bench.  Blasphemy!  For that matter, there is no face vise either, but we'll get to that later.

Because of my desire to break down the bench for daily storage, I challenged myself to come up with work holding solutions that don't require vises permanently mounted to the bench top.  Vises add weight and complexity, and the good news is that with a few accessories they aren't needed.  Hey, I'm not saying I wouldn't love to have a nice Benchcrafted Tail Vise, but it's not going to work on this bench.

If you haven't been following along, here is the bench in all its naked vise-free glory.


For the tail vise duties, I turned to a Veritas Wonder Pup.  This is a clever little gizmo that seats into a standard 3/4" dog hole.


I chose the the Wonder Pup because it has a shorter shaft than the Wonder Dog, so I can use it in any hole in the bench without hitting the cabinets below.  Both version have a total range on their screws of about four inches, so as long as your dog holes are closer than that you have total coverage to hold any length board.  In the picture above you can see that the first hole in the front corner is about three inches in from the end of the bench.  This is helpful because the handle of the Wonder Dog will overhang the end of the bench and be easier to spin quickly.  The screw pitch is fairly tight on these, so for big adjustments I hold the Wonder Pup by the screw and shake it around until the shaft spins around like a hula hoop.

To hold a workpiece to the bench, just put a regular bench dog at the other end and use the Wonder Pup to apply pressure.  As you can see below, even with thin stock the dog can be adjusted low enough to be out of the way.  By the way, I don't ever plane 1/4" thick plywood.  This is just to show the options for holding thin stock.

It's possible to get a bench dog low enough to hold 1/4" thin material.

Even among fans of the Wonder Dog, they will agree that it isn't great for working with thin stock.  The block on the end is 5/8" thick so it works fine for 3/4" or thicker material.  You often see the suggestion to add a thin tapered block to the end of the Wonder Dog, and the two screw holes in the block make this possible.  You also sometimes see the suggestion to add support shims underneath a workpiece to hold it up higher off the bench, but the difficulty is needing a lot of different thicknesses and widths to support different sized boards.

The standard Wonder Dog isn't great at holding thin stock.

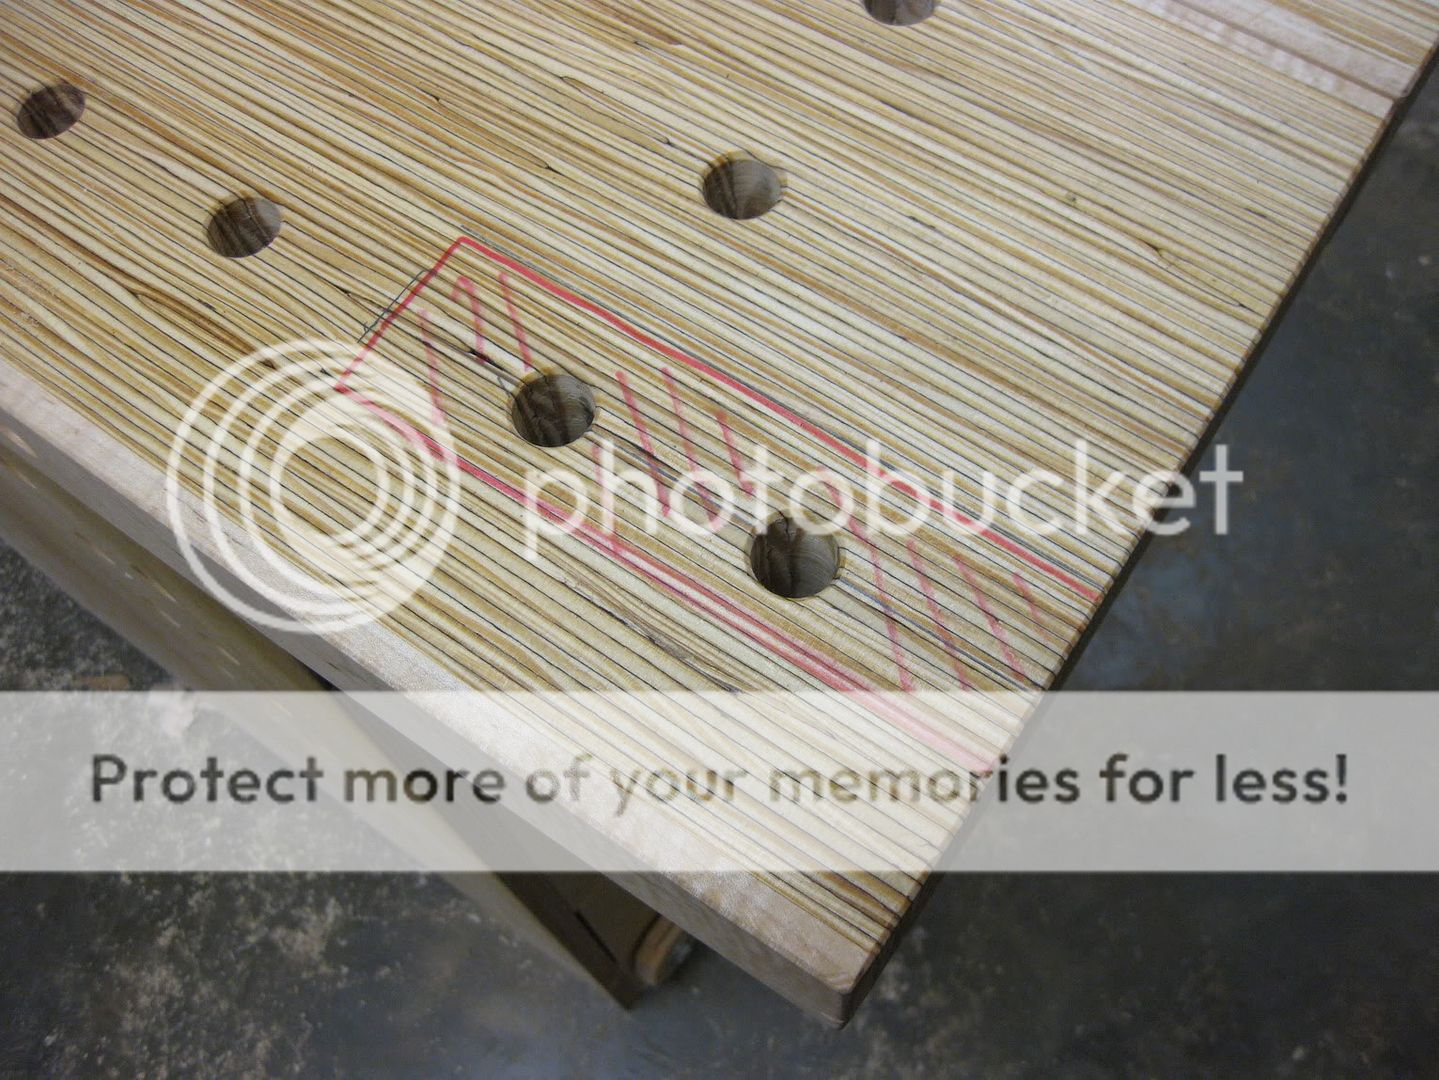
All of the information above is old hat if you have read about workbenches elsewhere.  This is where I am going to take you off the beaten path.  Instead of messing around with shims or tapered blocks, I recommend making a shallow pocket in your bench top for the Wonder Dog to sit in.  Here is the outline of the pocket, just slightly wider than the head of the Wonder Dog.  The total length is about 7 inches so that both dog holes can still be used.

The plan is to remove the area marked in red.

To make the pocket, I made a quick router template.  I hogged out most of the material with a straight bit, then finished up with a dovetail bit around the edges.  This creates a sliding dovetail so that I can use a filler block in the pocket when I don't need it.  I used an 8 degree dovetail bit since I was trying not to undercut the LVL too much.  In a standard hardwood bench I don't think the angle would matter.

Use a router to create a sliding dovetailed pocket in the end of the bench.

The pocket is 1/2" deep, so the head of the Wonder Dog sticks up only about 1/8" above the bench surface.  This is adjustable, so you could of course raise the whole assembly to get anything between 1/8" and 5/8'.  With this pocket, the Wonder Dog is able to clamp thin stock like a champ.

Wonder Dog + 1/2" deep pocket = thin stock clamping goodness

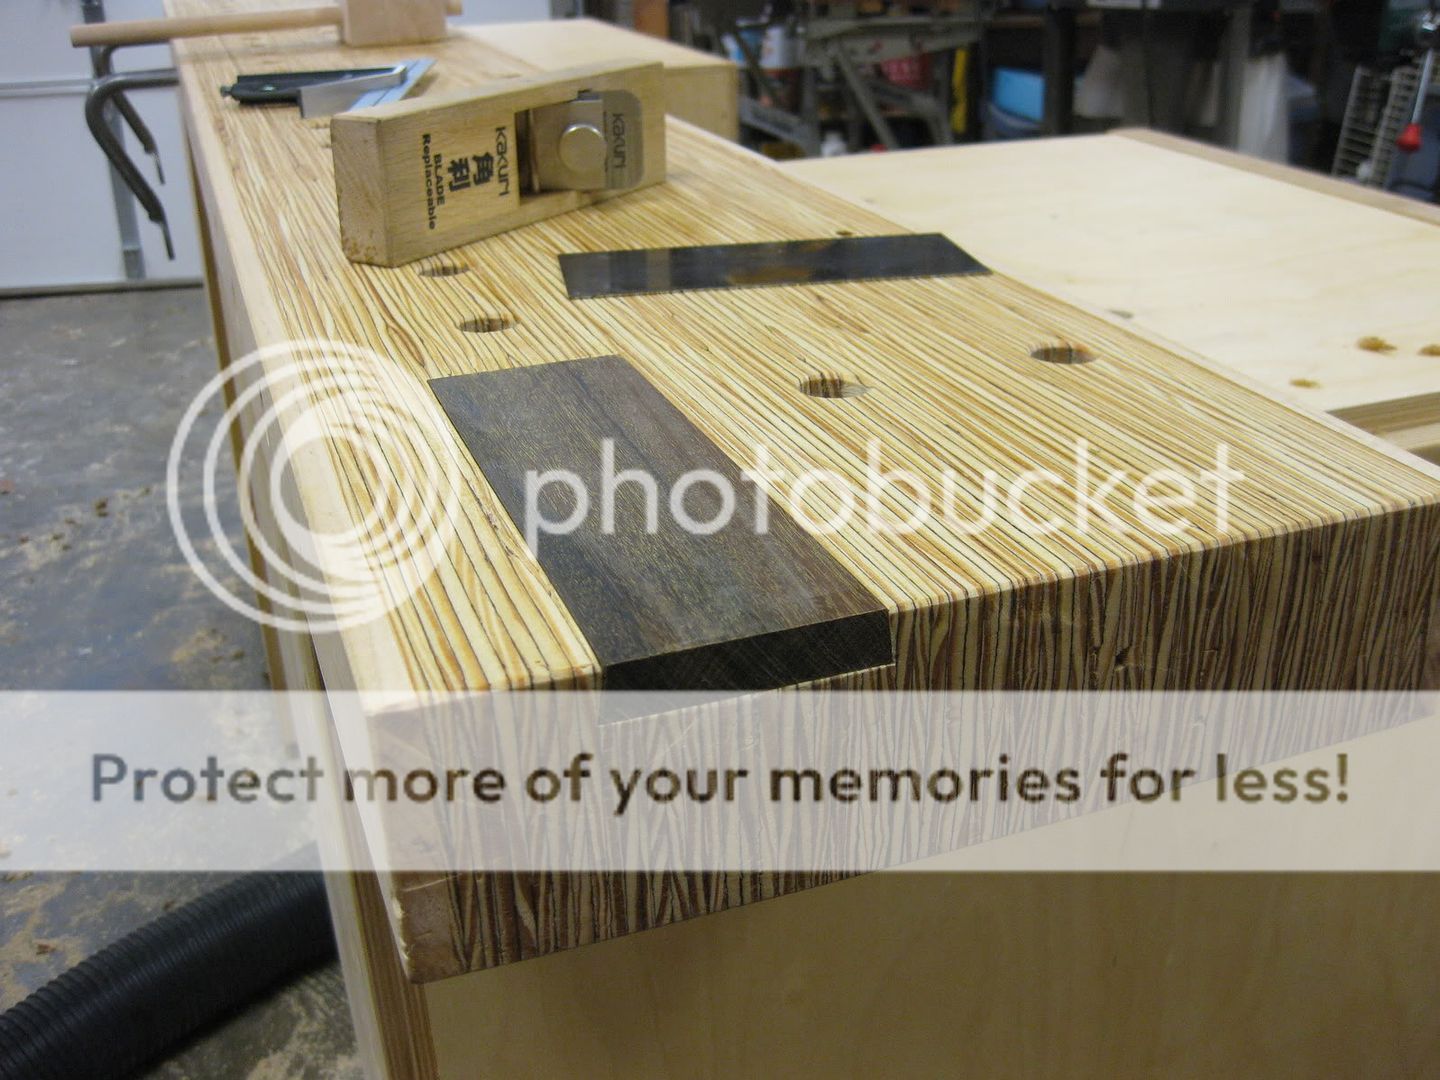
The next trick is to make a filler block to close up the pocket when it's not needed.  Thanks to the dovetailed sides of the pocket, this can just slide in from the end of the bench. I made a block out of some Ipe in my scrap bin, but any hardwood should be fine.  I cut the block on the table saw to get the 8 degree sides and snuck up on a nice friction fit with a hand plane and scraper.

Filler block should be a nice friction fit
The block will be easier to slide after the two holes are drilled in it.

After I had the block fit correctly, I used a forstner bit to mark the locations of the dog holes from under the bench.  Then just drill the dog holes in the filler block and chamfer the edges of the holes.

This little modification really helps get rid of a big limitation of using the Wonder Dog as a tail vise.  When you want to work on thin material, just slide out the filler block.

Holding thin stock - filler block removed

Most of the time the filler block stays in the pocket, and the Wonder Dog works normally.

Filler block does not affect normal operation of the Wonder Dog

There are a couple other tips I can give you.  If you are trying to plane a thin board that is also less than two inches wide, you may find that the end wants to sink down into the pocket since it is unsupported.  For this, I kept a little offcut from the filler block and put it in the pocket to support the workpiece.  I haven't ever needed it, but I keep it in the drawer just in case.

Narrow boards may need a little support to keep them out of the pocket

One last thing about the Wonder Dog is that the top of the anchoring shaft sticks above the holding block.  This can interfere with planing, even on 3/4" thick stock.  This is another great reason to use the pocket even on thicker stock - to get the shaft out of the way of a plane.  It's not all that problematic though since most right-handed woodworkers will plane away from the shaft.

Top of the shaft can interfere with planing

I'm not suggesting that this little modification makes the Wonder Dog the perfect tail vise. For a permanent bench I would probably still consider a more traditional tail vise, just for the convenience.  For me though, this is a good enhancement to make the relatively cheap Wonder Dog perform a new trick. Sorry about that.

What type of tail vise does your dream bench have? Next time, more bad puns!  Thanks for reading.