Showing posts with label router. Show all posts

Monday, February 28, 2011

Arrrrrrgh! Sales Counter Top Update

No, I'm not a pirate.  That's "Arrrrrrgh" as in "I am really upset and frustrated!"  Ever have one of those days?  Me too.

As a reminder, I recently built a sales counter for a friend that is roughly 14 feet long.  It has been installed, and the last thing left to do was join two store-bought butcher block counter tops together into a single long slab for the top.

Easy, right?  Well, kind of.  I'm going to get a lot of practice.  I made it too long the first time, so I get to try again.

Here's how I did it the first time.  With a series of too-complicated router setups, I created a half-lap joint between the two top slabs.  This turned out to be ultra-strong, but was the source of my error.  Somehow I messed up and the length of the overlap was added to the total counter.  The half-lap is about 3 inches wide.

Half lap joint is very strong, but I didn't measure correctly for overall length.
If I had caught the problem at this point, fixing it would have been easy.  I could have just trimmed the ends of the counter to the correct overall length.  Instead I just plowed ahead with all the remaining steps. I sanded, stained, varnished, and delivered the top.  I plopped it down on top of the sales counter and finally discovered the length was wrong.

"Arrrrrgh!"

This sales counter has a jewelry case at each end, so part of the design called for a glass insert in each end of the top.  You can see one of the cutouts in the picture below, and there is one on the other end too.

After adding cutouts for glass inserts, the only option is to cut it back apart to fix the length.
The problem now is that the cutouts for the glass inserts prevent me from simply trimming the ends off.  I will be forced to cut the two slabs apart again and redo the center joint.

"Arrrrrgh!"

The other challenge is that the top has been stained and I have several coats of durable poly applied as a finish.  I really don't want to repeat the half lap process, because I don't want to have to sand or plane the joint to get it flush.  I haven't had good luck touching up a stain/poly finish and I don't want to strip the entire top.

I'll keep you posted.  Back to the shop.

Ever have one of those days?  Got any ideas?  How would you recover from this blunder?  I'd love to hear it!

Wednesday, December 29, 2010

Workbench: Planing Stop

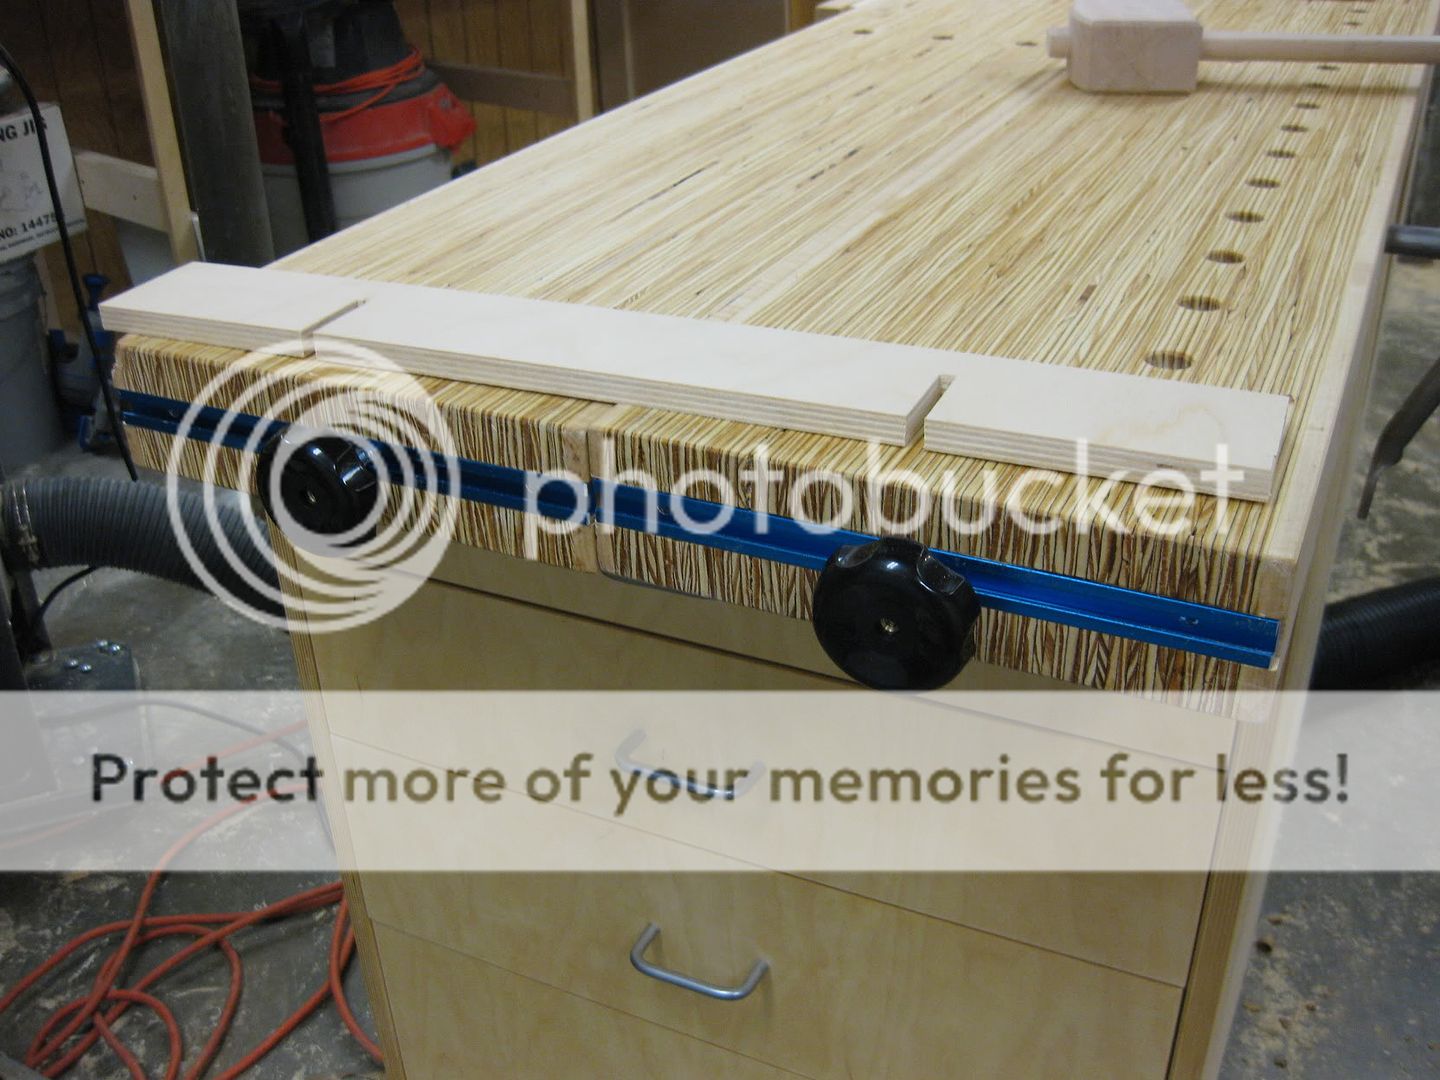
Here's an old idea you've seen before, perfect for a lazy blog post on December 29th.  At the left end of my weirdo no-vise workbench I installed a planing stop.  It's just a half inch thick piece of Baltic birch plywood I had in the scrap bin, attached to the end of the bench with some T-Track and a couple knobs.

Planing stop works great at the left end of the bench
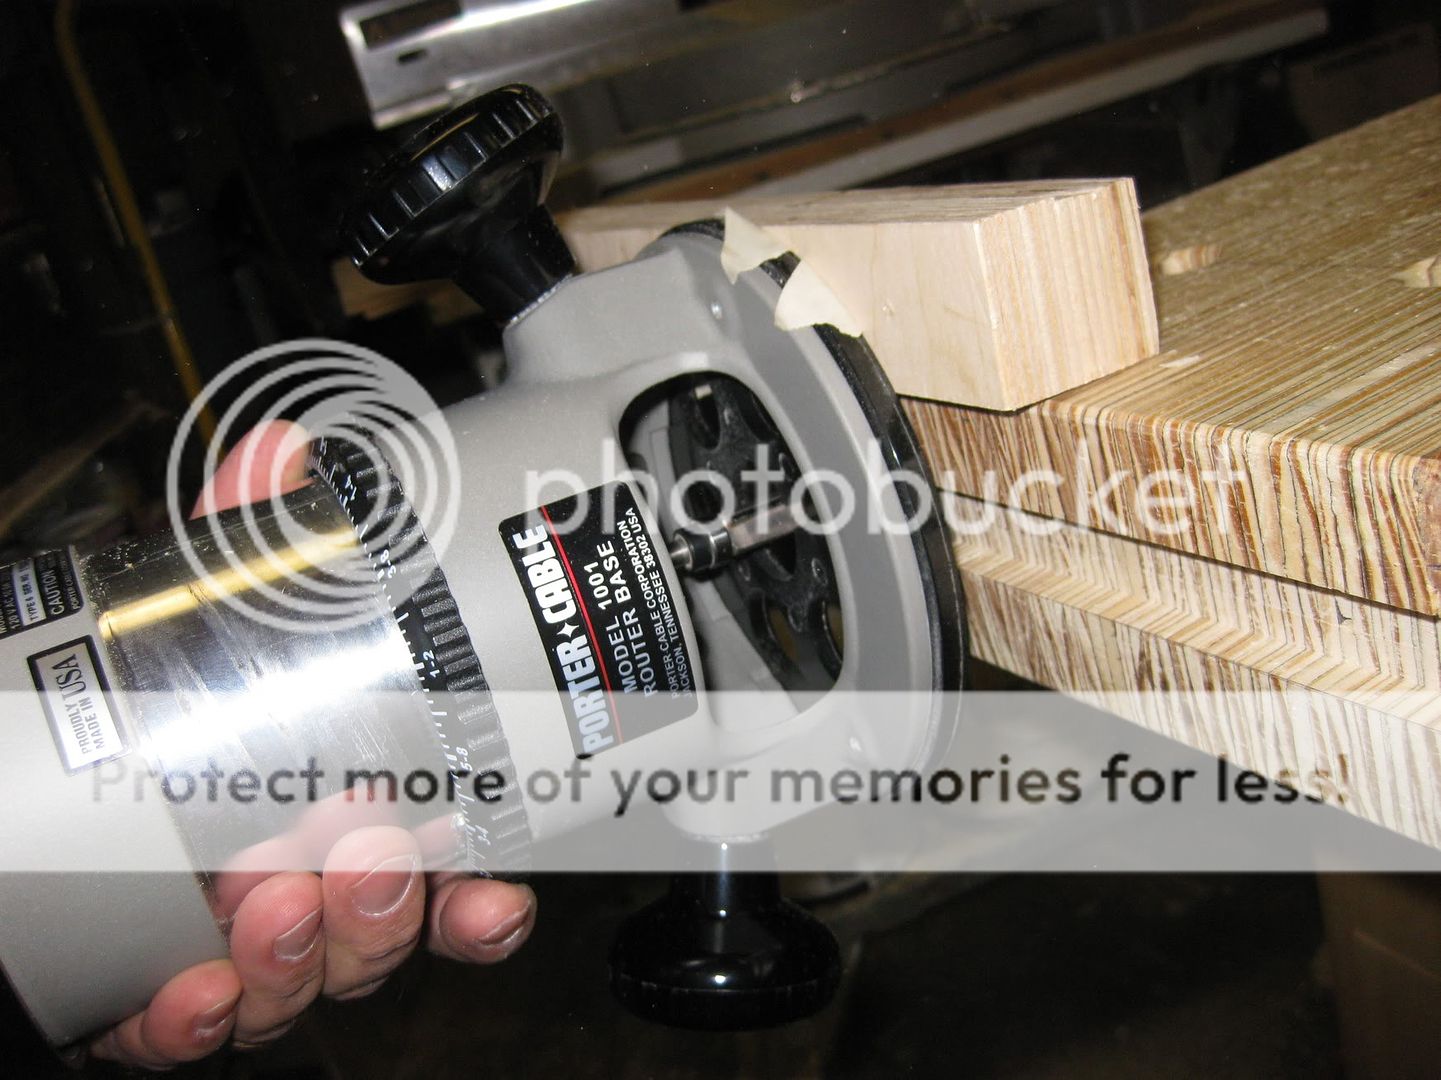
It was a little tricky to come up with a way to cut the groove in the end grain of the top slabs.  I considered (and even started) doing it with a handsaw and chisel, but the results were pretty horrible.  Next, I actually stood the bench slab on end and rigged up a superbly unsafe router jig.  In the picture below, you can see that (1) I am an idiot, and (2) that my wife's car is not in the shot. I am at least clever enough to behave foolishly while she is away from home.

To my wife: I swear I didn't do it this way
Thankfully, common sense took back over and I stepped away long enough to come up with a simpler solution involving some double-sided tape, a scrap of wood, and both feet planted firmly on the ground.

Routing a groove for T-Track
Once the groove was there, it was simple to cut some T-Track to fit the two bench slabs.  A few screws later, and the track holds a couple T-Bolts with handles from Highland Woodworking.  It's so convenient to have them right around the corner from me, but pretty dangerous for the wallet too.

Planing stop attaches with a couple knobs - easy to adjust.
Voila! One removable planing stop.
I like this solution because it is simple to use, and also because it fits my theme of having a bench that breaks down daily.  When it's time to quit, the planing stop board pops free, and the knobs just slide right out of the track and into a drawer.  Most of the time the parts stay in the drawer, since I don't use the planing stop every day.

Have a happy New Year!

There are other options for planing stops too.  What do you have on your bench?  Or do you just flatten boards with a planer like nature intended?

Tuesday, November 16, 2010

Workbench Detail: Dog Holes

I am in the camp that prefers round dog holes in a bench top.  Square holes require perfect planning and construction to get them in the right place.  I'm great at the first (planning) but kind of "meh" at the second.  Round  holes are easier to add after the top has been glued up, and they work with a lot of aftermarket accessories.  With my new bench I will be using a set of Bench Pups and a Wonder Pup, along with some Grammercy holdfasts and some 3/4 pegs for much of the workholding.  All of this works just fine with round holes in the bench.

Chamfering the holes is one of the details I latched onto while planning the bench.  This makes it easier to get accessories into holes by slightly widening the mouth.  It also helps prevent the hole from chipping out when you remove an accessory.  The LVL is particularly prone to flaking so this was an important detail.

Here is the before shot of a typical hole, made with a 3/4" forstner bit in a drill press.

Holes in LVL are prone to chip-out
And here is a hole after a very slight chamfer was added with a router.

Chamfer the hole to make it more durable
Of course, safety first even if it includes silly pink filters on your dust mask.

Pink = Safe
Sorry to be so stingy with the details on the bench design, but I will be adding more posts about my unique, new, and possibly foolish idea very soon!

Wednesday, September 22, 2010

Hand Rail Part 2 - Getting Jiggy

Sorry for the bad pun, really.

In a previous post, I said the next step on my handrail project was to make a jig but I'm a big fat liar.  Instead I went shopping for lumber and returned to the shop with a couple 16 foot 5/4x4's.  I glued these together and used screws in what I thought was a safe spot on the back of the rail where the finger groove would be.  Turned out I made a change later and had to fill the holes, but oh well.


Next step was to make the router jig.  I will warn you in advance that I must have gone through 5 different versions of the jig, each time trying to battle an unexpected difficulty.  In the end I was able to make it work but I now wonder if free-handing it may not have been a possible option.  I probably couldn't get it as consistent as the router method though.

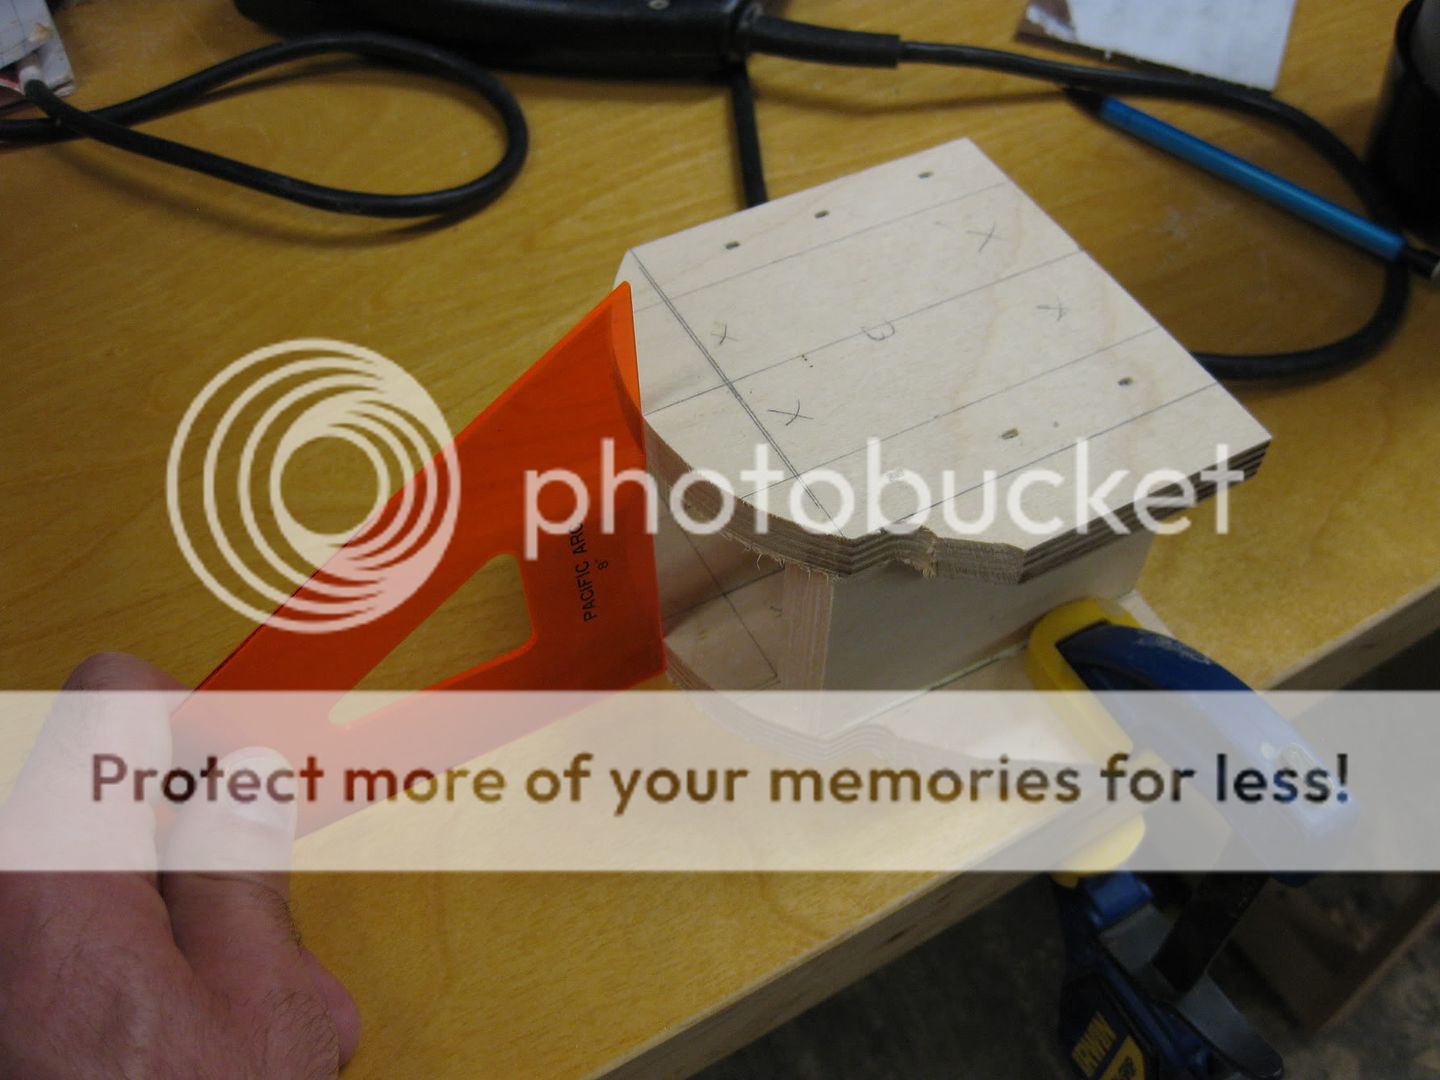
First step was to glue the scale pattern I printed to some hardboard and carefully cut out the profile using a jigsaw, file, and sanding blocks.


Next I used the template with a flush trim bit to make a couple sides from 1/2 Baltic birch plywood.


I assembled these with some straight sides into a box with a curved top, being careful to align the two curved parts.


Then using a straight bit with a bottom bearing, I removed material from the curved sides so that the jig could slide up and down the glued up railing blank.  I used a chisel to square up the corners.  Sharp eyed readers will notice a problem already, but not me!


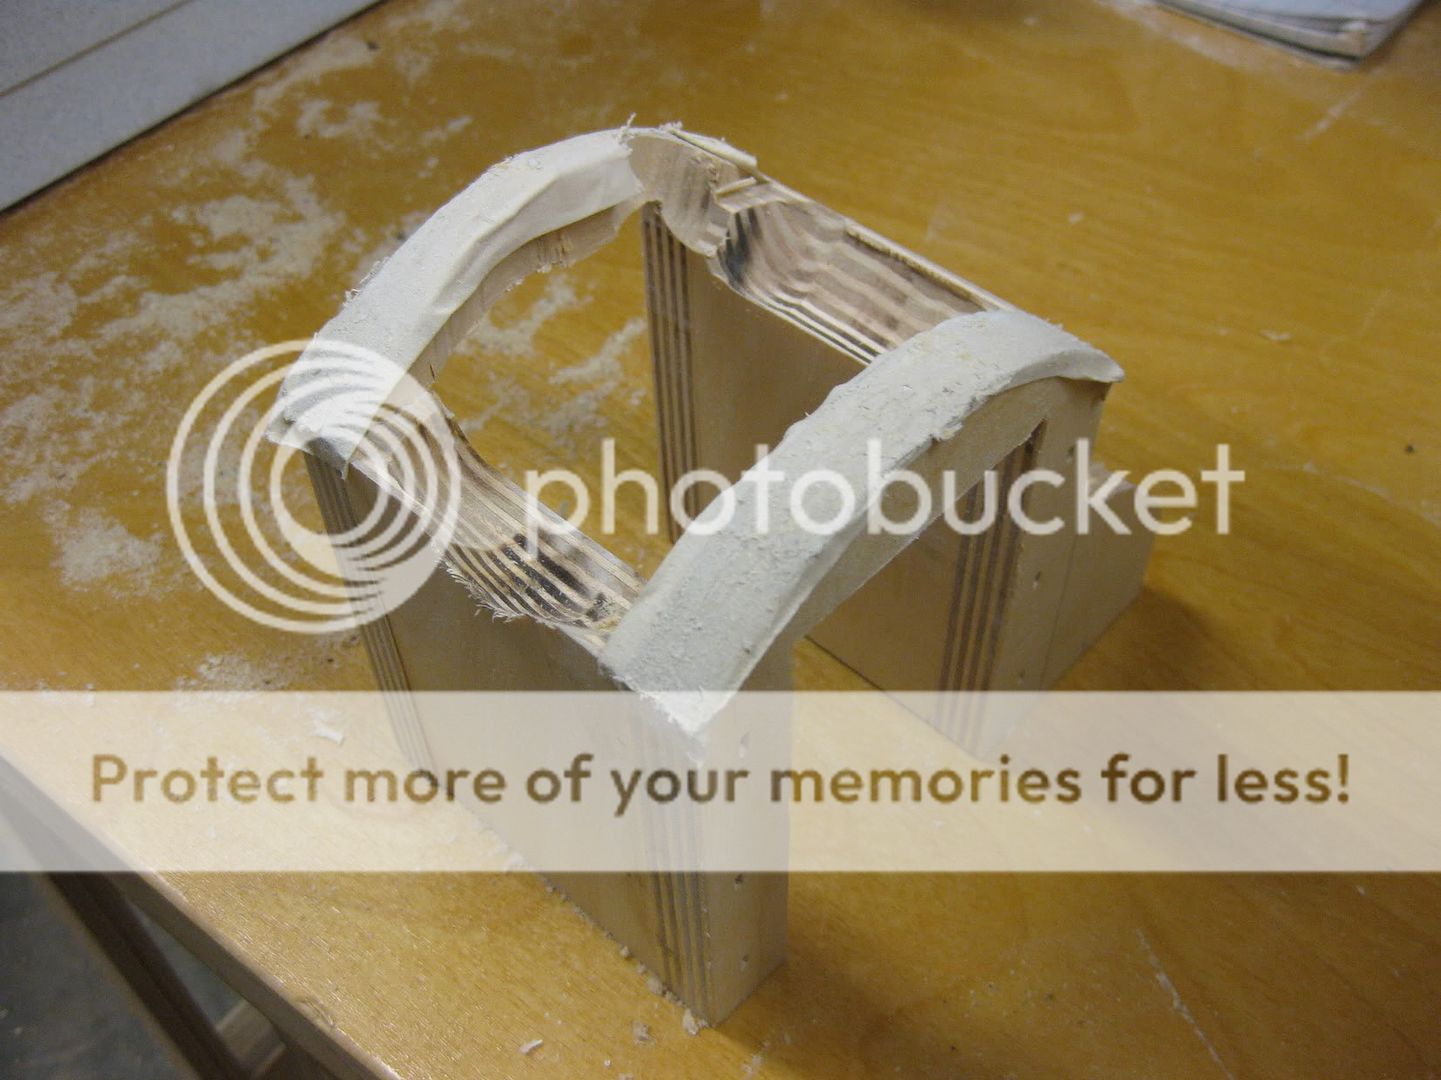
My thinking was to put a fat 3/4" straight bit into the router, and then just follow the curves on the jig with the router freehand.  I would go side to side for a few inches, then slide on down and repeat.  Yeah, right.  The picture below shows my first attempt.  There are a few concerns.  First of all, the angle of the router really mattered with the straight bit.  rock a little too much and the bit really dug deep into the rail, leaving a round gouge.  Second, take a look at the router in the picture above.  See those holes that I ignored?  They make it impossible to follow the 1/2 thick template - the holes kept bottoming out on the jig.  Third, I had no way of seeing when to stop so I've already cut into the jig.  Some of this is necessary to get the edge or the rail, but I had a lot more to go and wanted to make sure the jig made it.


Back to the drawing board!  First I put a piece of polycarbonate on the base with some double stick tape to counteract the holes.  Second, I switched to a "bowl and tray" router bit so the edges were curved and hopefully rocking the router slightly wouldn't dig into the rail.  I actually tried again with just that setup, and it was still really hard to rotate the router exactly perpendicular to the curve.  So I added the little concave curved ramps that had the opposite curve as the jig.  Don't even ask how long it took me to make those.  Finally, the two strips on the very sides of the poly base are there to stop me from going too far side to side and eating into the curved sides of the jig.


That worked pretty well, but I was still getting pretty lousy results going back and forth across the rail.  I had visions of a perfectly curved surface, but each pass just wasn't precise enough to leave a smooth surface.  It looked like I was making corn on the cob.

Finally I realized that I should be sliding the router along the rail, not across it.  It takes me a while, but I get there!  I put some double sided tape on the jig - which had seen better days by this time.


Then I just stuck the router on the jig, made a long pass on the rail, rotated a bit and repeated until I had hogged away most of the waste.


I was left with a rail with small ridges along the length, but these cleaned up pretty well with a palm sander.


After that, I made a pass along the bottom with a beading bit, and along the back with the bowl & tray bit again to carve out a recess for fingers to grip the handrail.  Here is a shot of the railing on the stairs.  It's just primed at this point, since I am out of trim paint. 


Maybe now my mother in law will give me a break next time she comes over!  She's been waiting for this for months!