I like SketchUp. A lot. Like really, a lot. I use it to model most things I build, and many other things around the house. Frankly, my wife is a little sick of all the models I think.
Her: "Honey, take out the garbage please?"
Me: "Wait, I need a 3D model for that!"
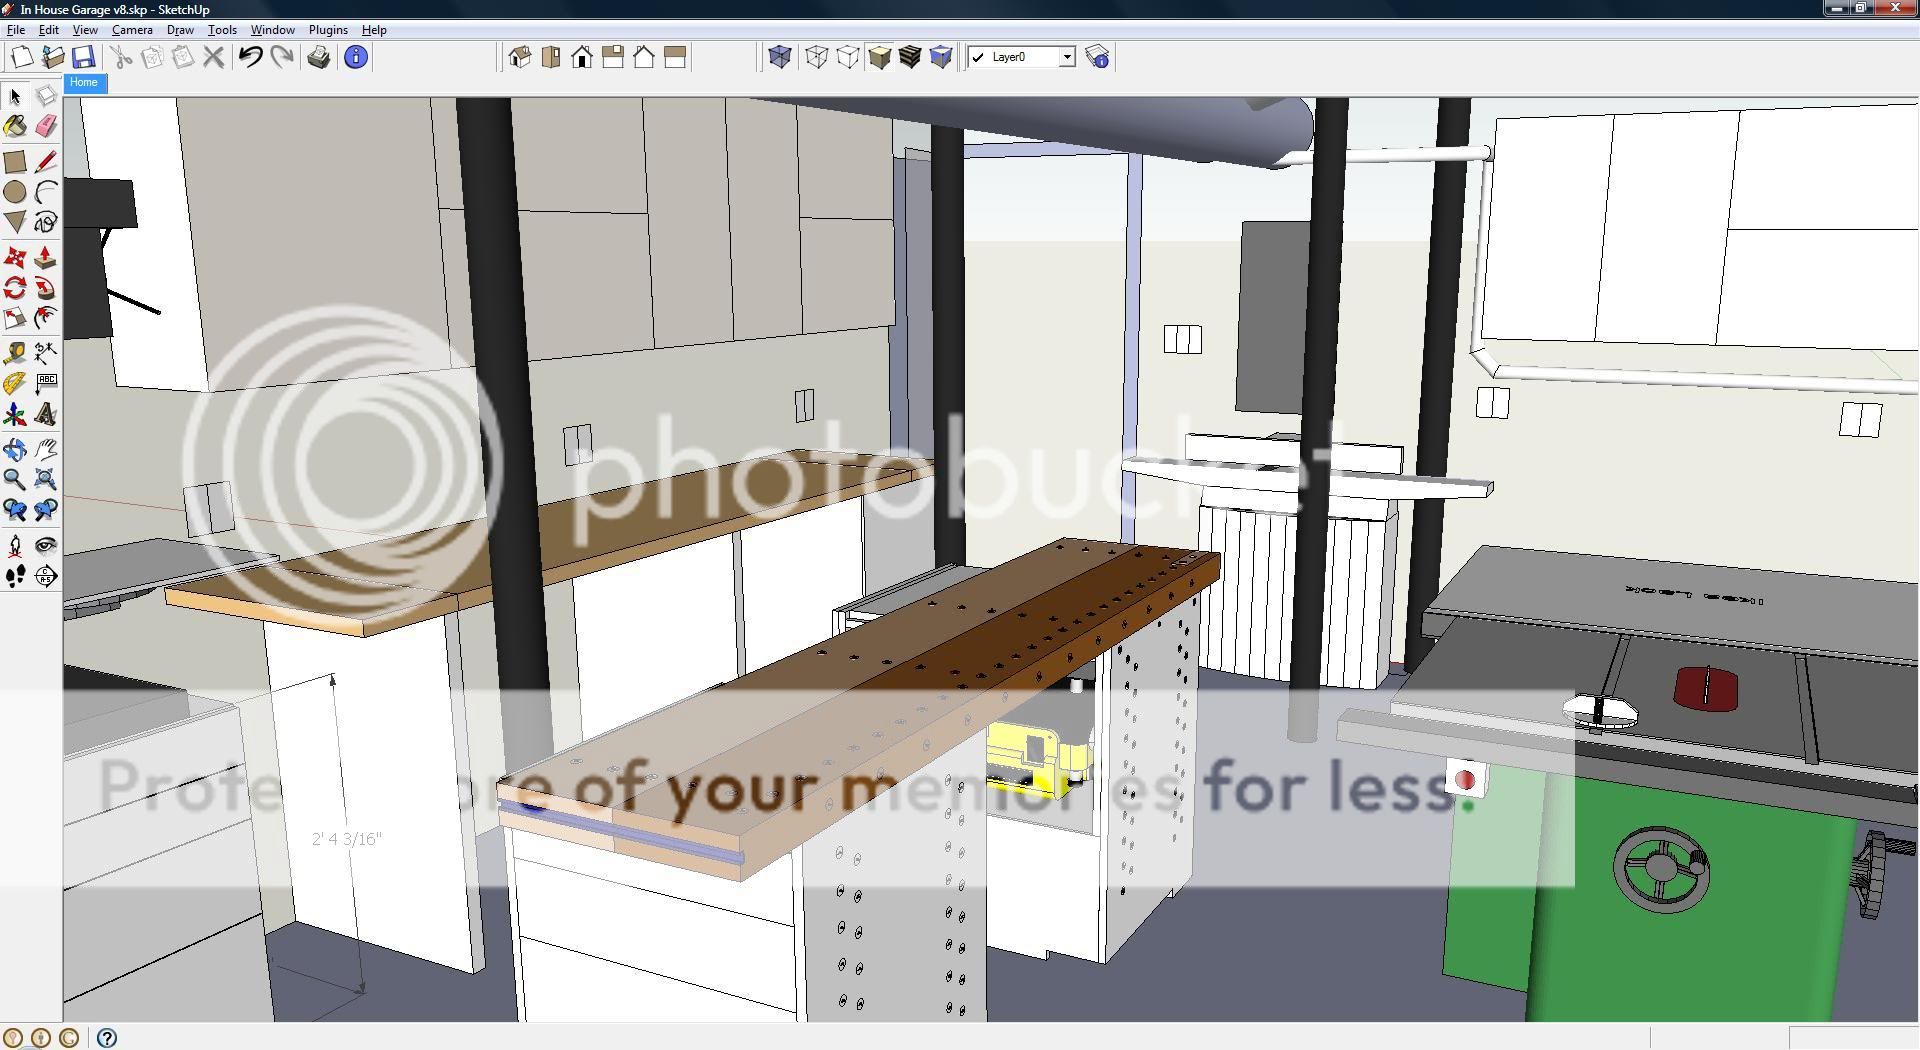
But there are times when a 3D model is very helpful. For instance, I used it to lay out my shop to make the most of my limited space.
 |
| Click for extreme close-up |
Which brings me to today's SketchUp tip. Woodworkers tend to focus on models of a single piece of furniture, but SketchUp is also used by a bunch of architects to create entire buildings. When you are viewing a building from the inside out, you generally want to show the viewer what they would realistically see if they were standing in the space. This is where field of view becomes important.
The human eye has about a 120 degree field of view from side to side, or about 60 degrees per side. It may be easier to think of this as a cone expanding outward from your eye. The default setting in SketchUp is just 35 degrees, which is a much narrower field of view. As a result the standard view in SketchUp can feel like you have blinders on.
For example, here is the default 35 degree view if you are standing at the garage door of my virtual shop.
SketchUp lets you easily adjust the field of view. Here's how you do it. Click on the Zoom tool or just hit "Z" on the keyboard. The zoom tool looks like a little magnifying glass.
After you select the zoom tool, the box in the bottom right of your SketchUp window should say "Field of View" and "35 deg". At this point you can type in another setting and hit enter. For example, try "60" and "Enter". Here is the same view of my virtual shop with the 60 degree setting.
You may want to play around with different settings for different effects. Rather than typing in each new setting, you can hold down the Shift key and the Left mouse button, and then drag the mouse around to widen or narrow the point of view. This seems a bit awkward and unless you are comfortable with camera navigation in SketchUp I recommend just typing in your number.
One last note is that SketchUp can accept field of view settings in degrees or millimeters. The "mm" settings are handy if you are a photographer and want to get the effect of a specific lens, such as "50 mm". When you are typing in your new setting SketchUp stays in the current "deg" or "mm" scale unless you specifically switch to the other scale. Note that for the human eye, 60 degrees is about the same as a 35mm lens.
That's all it takes to get a new field of view in SketchUp, and it can really help to make models look more natural for the viewer.
Got a question about SketchUp? I'd love to hear from you in the comments.


7 comments:
I am in the process of doing a similar illustration of my shop. It came to a stop when I did not find my table saw in the SketchUp 3D Warehouse.
So, I will continue with it knowing that it will take a while to complete, since I will have to also draw the tools in it.
That is an amazing drawing. How long did it take you to complete?
Another good tip is to understand the total functionality of the mouse itself as well as keyboard shortcuts. Also, once I understood the concept of components and how best to create one, things got a lot easier for me. There is still a lot left for me to learn.
One quesiton, how do I get more wood color options? I once noticed someone had a pine texture and color on a project, but that must be a plug-in or in the Pro version, since it is not available with the free download.
Jeff, the model of my shop has evolved over time as I have added and modified different versions. I think I am on Version 8 - talk about detailed! Most of the components came from the 3D Warehouse, but I found another set of standard tools also. Many of mine are just placeholders. For instance, my jointer isn't exactly like that, but I found an existing model that was rougly the same size as my Jet 6" jointer. In the end I am just trying to make sure everything fits, not get it photo-realistic.
I totally agree that understanding all the SketchUp shortcuts will increase your skill tremendously. Most of the tools have several alternative uses by toggling the CTRL or ALT keys (option on Macs). Getting to know these will unlock a lot of SketchUp secrets. A big help is to read the text that appears in the bottom status bar when you select a tool - they try to remind you of all the different options.
For extra wood materials you have a couple options.
First, you could create your own from any jpg or standard image. A good source of images is http://www.defcon-x.de/c4d/textures.
Second, there are ready-made wood material libraries out there where someone else has done the hard work. A good one is at this link: http://lumberjocks.com/projects/5652
Hope this helps!
Aaron,
Great tip. While I'll admit to being a SketchUp newbie, I found myslef using it to model my Bastard Tool Cabinet. I guess I'll have to take the plunge and learn. Thanks for leading the way.
Hi Jeff, I just discovered your blog and spent a lovely hour or so reading through it. You have some wonderful content. I especially love you work bench.
I discovered your plans for your plywood/wood storage and I'm right in the middle of planning one for my shop, so the timing was perfect! I'm curious how the full sheet of plywood at the back of your cart is secured. It looks like you've anchored it along the bottom and at the back of one edge. Is there not a lot flex in it when you have 5 or 6 sheets leaning on it? Your response would be most appreciated as so far your design is my favourite.
Thanks! Scott
Scott, thanks for reading. January has been a busy month so I have not been able to post but more content is coming soon!
Regarding the lumber cart, you are correct that the back panel is attached at the bottom and left edge only. There is a little flex, but the cart is not free-standing. I have a couple hinges along the left edge that secure it to the wall, so most of the time the back panel is flush up against the wall and flex is not an issue. The right end pivots out from the wall for access to the plywood section, and this is the only time the back panel is not supported. You may need some design changes if you make a free-standing version of the cart.
Shame that Google that made its fortune using Linux cannot support Linux. I don't do Windows© so SketchUp is worthless to me.
While I am aware that SketchUp runs in Wine emulator I'm reasonably sure that it'd run like garbage. I mean come on its a Windows application!
My thoughts of Google supporting even Mac OS X but not Linux are not pleasant. I might have to change my homepage to Bing just to spite Google.
Paul, I hear from reliable sources that SketchUp actually runs cleanly in Wine. I helped out a neighbor with a bathroom renovation model recently and he was trading models back & forth easily with me.
According to him "It's wine-1.2 and I'm running it on Linux Centos 5.5". You might want to give it a shot.
Post a Comment